Smartproxy introduction
Smartproxy offers a wide range of proxy and scraping API solutions, including residential, datacenter, static residential (ISP), and mobile proxies. Its residential proxies are the flagship product, featuring an extensive pool of 55M+ real IP addresses in 195+ locations. These proxies support both HTTP(S) and SOCKS5 protocols, offer rotating and sticky sessions, and have the best IP quality in the market.
Whether you’re web scraping, managing multiple social media or eCommerce accounts, running market research, or accessing geo-restricted content, Smartproxy provides secure and scalable solutions tailored to your needs.
With 24/7 tech support, a range of free tools, flexible pricing, and ethically sourced IPs, Smartproxy is one of the best choices to test, launch, and scale your web data projects.
Smartproxy proxy configuration
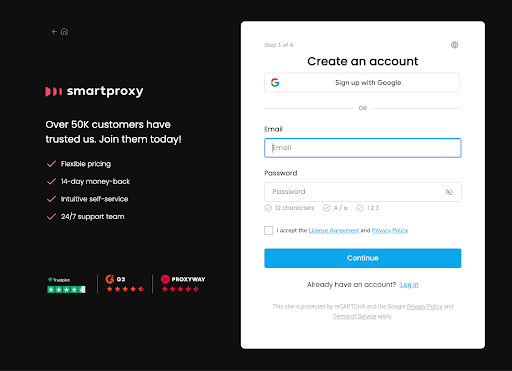
Creating an account
Go to the Smartproxy dashboard and sign in with Google SSO, or enter your email address and password.
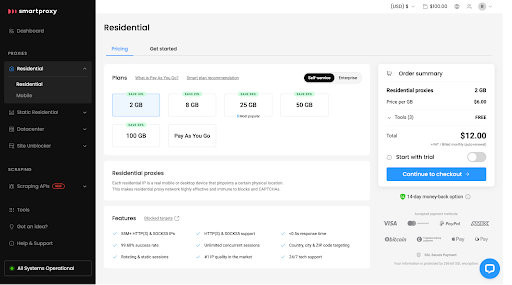
Choosing a proxy type
Once you verify your account, in the dashboard’s left-side menu, choose the proxy type you want to purchase.
For example, choose Residential and then purchase a plan that suits your needs. You can get started with a Pay As You Go option and pay for each GB if you have a one-off project, or choose a monthly subscription.
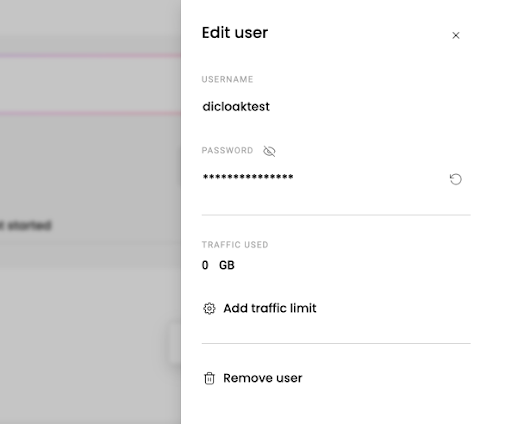
Authentication with username:password
After activating your subscription, the first proxy user is created automatically in the Authentication tab. To remove it, click the three dots next to your username, choose Edit user, then Remove user, and click Confirm.
To create a new one, click on Create user. You can use a custom username, but the password will be generated automatically.
Then, you can use your credentials to integrate residential proxies with various third-party tools.
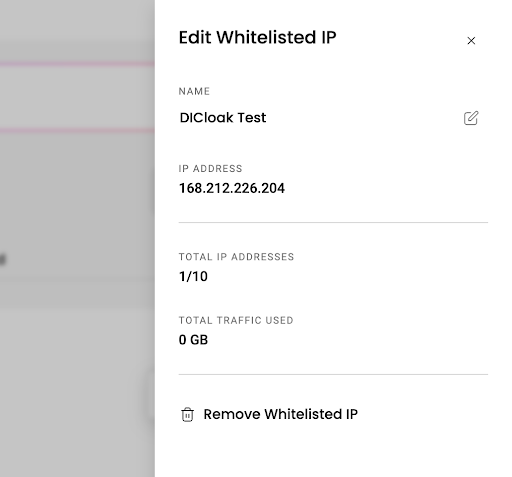
Authentication by whitelisting IPs
Go to the Authentication tab and open Whitelisted IPs. Click + Add IP, enter an IP address, and hit Save. Alternatively, you can add your current IP by clicking + Add.
Just a heads up – only IPv4 addresses are supported. Make sure the IP belongs to you and that you’re not using a proxy or VPN.
To assign a name to a whitelisted IP, click the three dots, choose Edit IP, then click the edit icon next to Name, enter a name, and save. To delete an IP, click the trash bin icon and confirm.
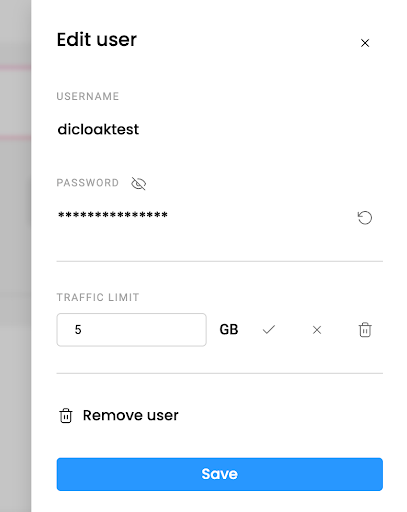
Add traffic limit
To set the traffic limit, click the three dots, select Edituser, and choose Add traffic limit. Enter the GB cap, then click Save to apply the limit.
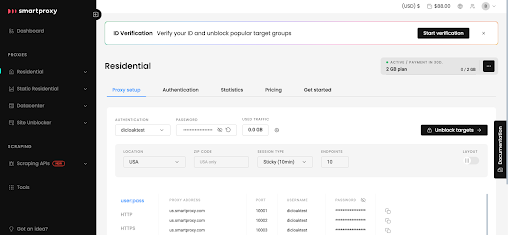
Configure parameters
Go to the Proxy setup tab and select a user if you have multiple accounts. This will allow you to customize various proxy settings, including:
- Location – select Random to get IPs from our global pools or select a specific city, country, or state. If set to USA, you can also specify a ZIP code.
- Session type – click Sticky sessions to retain the same IP for 1, 10, 30, or 60 minutes (or a custom value of up to 24 hours) or Rotating sessions to switch IPs with each request.
- Protocol – Smartproxy’s residential proxies support HTTP, HTTPS, SOCKS5, and endpoint:port configurations.
- Endpoints – define how many endpoints to generate (default: 10). You can copy individual endpoints or export them as a CSV or TXT file.
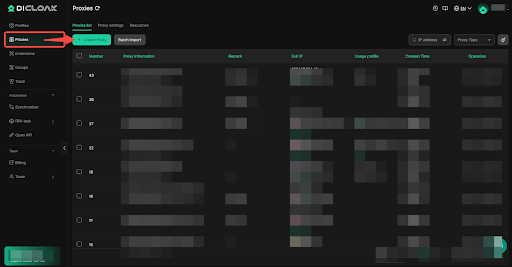
Configuring Smartproxy proxies with DICloak
- Launch DICloak, select Proxies in the left-side menu and hit the Create Proxy button.
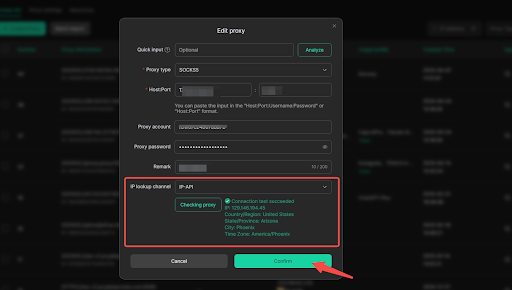
2. Choose the Proxy type and copy the proxy information (proxy host, port, username, and password) from your Smartproxy dashboard.
3. Paste the copied proxy configuration information into the fields.
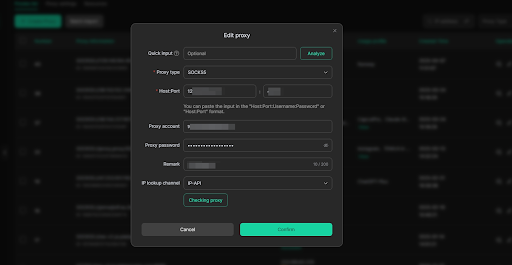
4. Scroll down and click the Checking proxy button. DICloak will test the proxy connection and present you with your residential proxy’s IP address, location, and time zone. Click Confirm to save your proxy configuration.
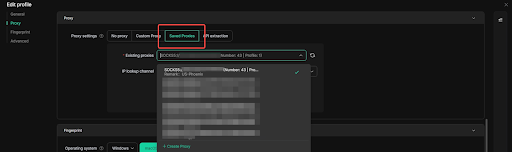
5. You can also add your proxies to the user profile. In the Proxy section, click on Saved Proxies, select your proxies, and click Confirm to assign proxies to the specific profile.
6. Done! You can now manage multiple social media or eCommerce accounts, run automation tasks, or browse the web anonymously with DICloak and Smartproxy!