Introduction of QuarkIP
QuarkIP is a global proxy provider dedicated to helping businesses and individuals operate online securely and efficiently. Our network covers over 200 countries and regions, offering millions of real residential and data center IPs. Whether you’re running e-commerce stores, managing social media accounts, conducting web scraping, or verifying digital ads, QuarkIP delivers fast, stable, and reliable connections
Click on the official QuarkIP website link: quarkip
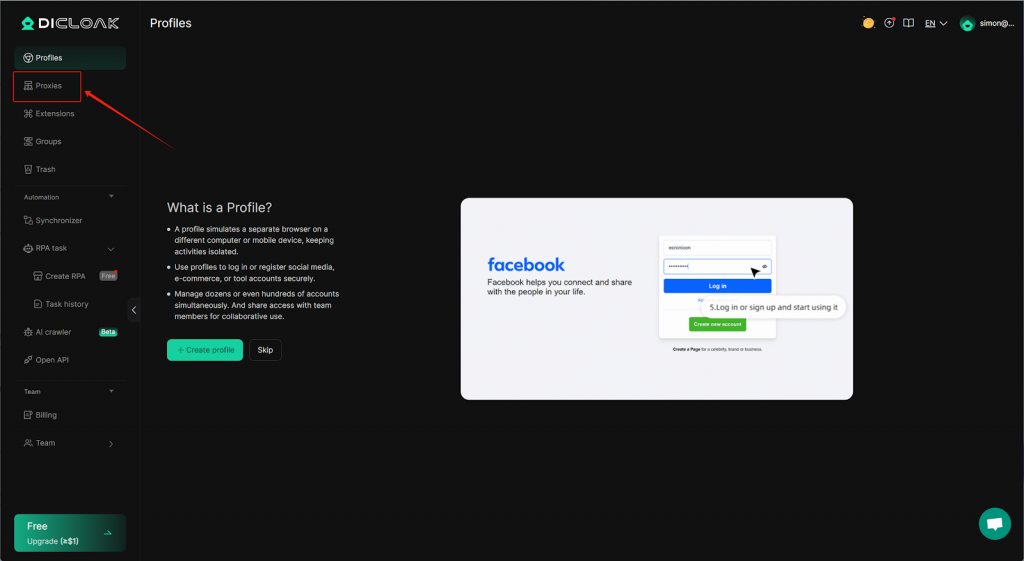
How to Set Up a QuarkIP Proxy on DICloak
1.Navigate to “Proxy Management” and import the proxies from QuarkIP into DICloak.
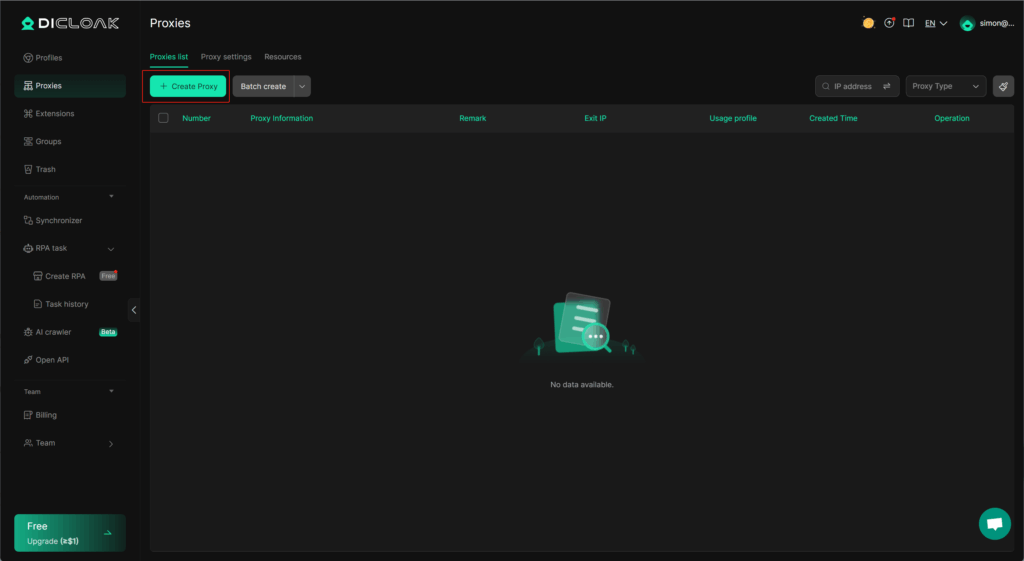
2.Click the “Create Proxy” button.
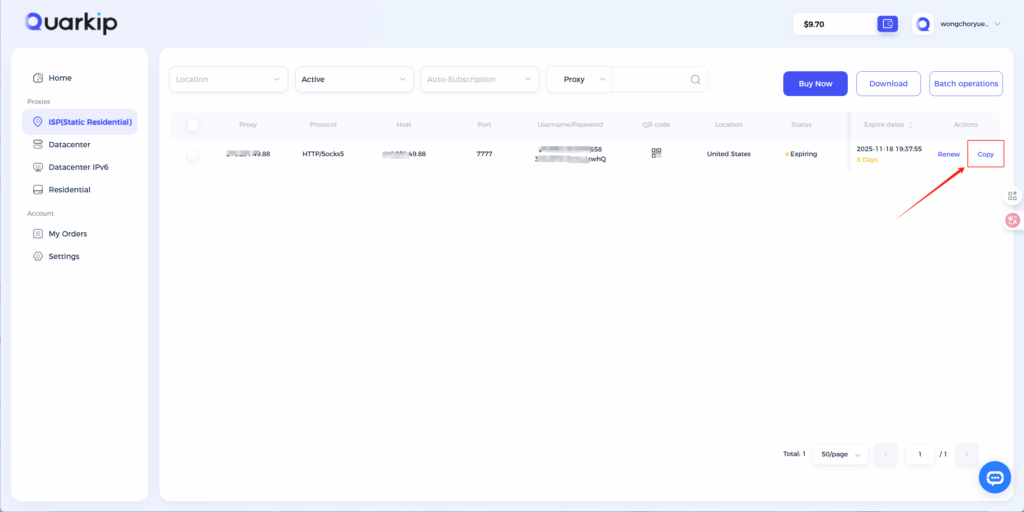
3.1.Static Proxies
Using QuarkIP’s United States ISP proxies as an example, enter the corresponding proxy information into DICloak based on the provided labels.
- After purchasing a proxy, it takes 2-3 minutes for the allocation to complete. During this time, we verify the payment status and assign the proxy. The proxy status will show as ‘Allocating’ while this process is underway
- Unlike other proxy products, you can freely select HTTP or Socks5 protocols without having to change the port number.
How do I purchase QuarkIP ISP proxies?

3.2.Residential Proxies
Once traffic allocation is complete, select your desired region and configure other settings, then click the ‘Extract’ button
Country/Region:Select the proxy’s country. Choose “Global Mix” for random international rotation
State (Optional):The proxy’s state/province. Leave blank for random rotation within the selected country
City (Optional):The proxy’s city. Omit for broader location selection
Route:Automatically selects optimal routes based on your region
Rotation
Sticky IP: Maintains the same IP for ~30 minutes
Randomize IP: Changes IP with every request Choose based on your use case
Protocol:Supports both SOCKS5 and HTTP
Quantity:Select multiple proxies only if needed (e.g., for configuring multiple browser profiles). Otherwise, 1 is sufficient
Note: Each field is separated by a colon (:). The account credential should be entered as a complete string – be sure to include all trailing parameters during import.
Copy the generated information into the input box, and make sure the protocols match,click the ‘’Analyze‘’ button