Proxies enhance privacy and security by hiding your IP address, allow you to access geographically restricted content, and simulate browsing from multiple locations for testing and multi-account management.
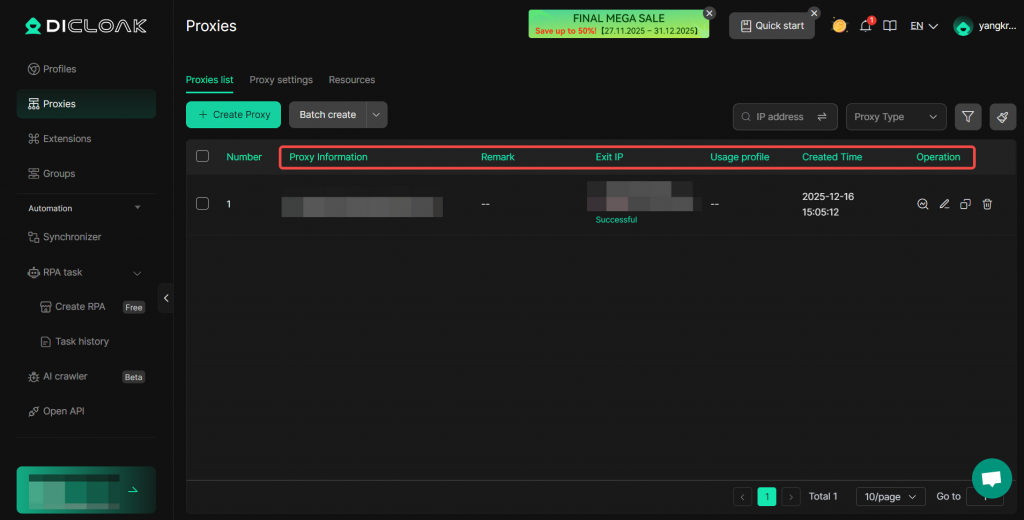
In Proxies – Proxy list, you can add new proxies, view configured proxy information, and check the availability of configured proxies. If you have completed the proxy configuration steps in the Proxy List, you can select the successfully configured proxies when creating a profile and choosing a proxy.
Proxy List
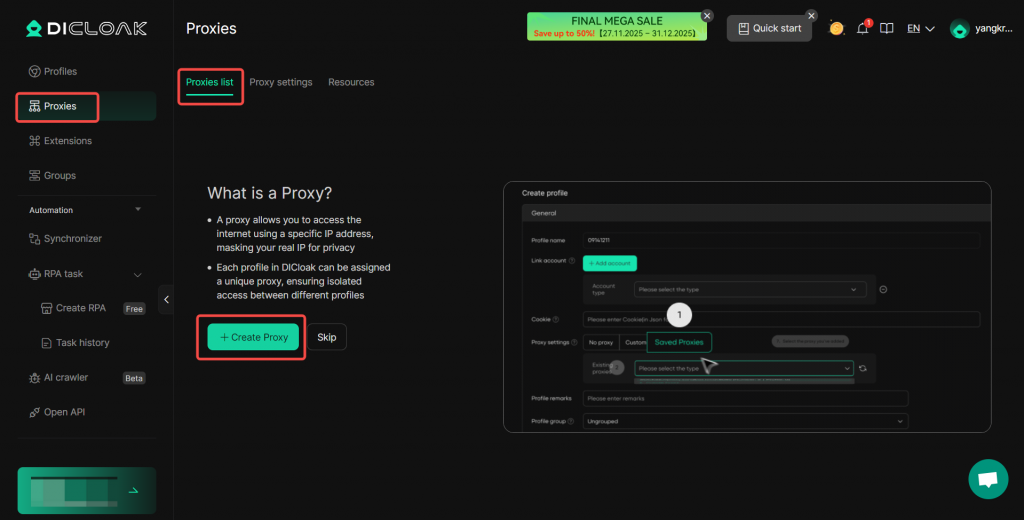
Open and log in to the DICloak software. You can find Proxies in the left navigation bar. Click Create Proxy button to add new proxy information and create a new proxy.
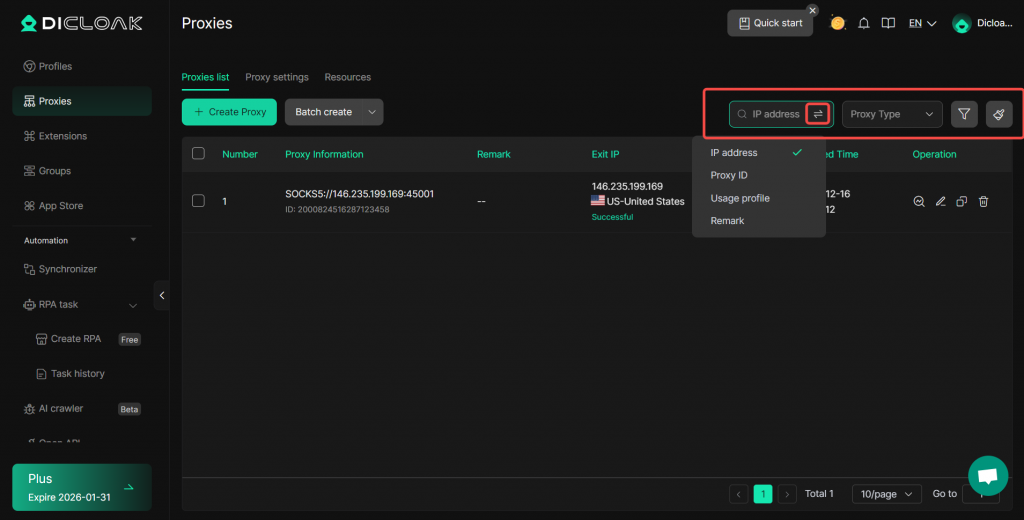
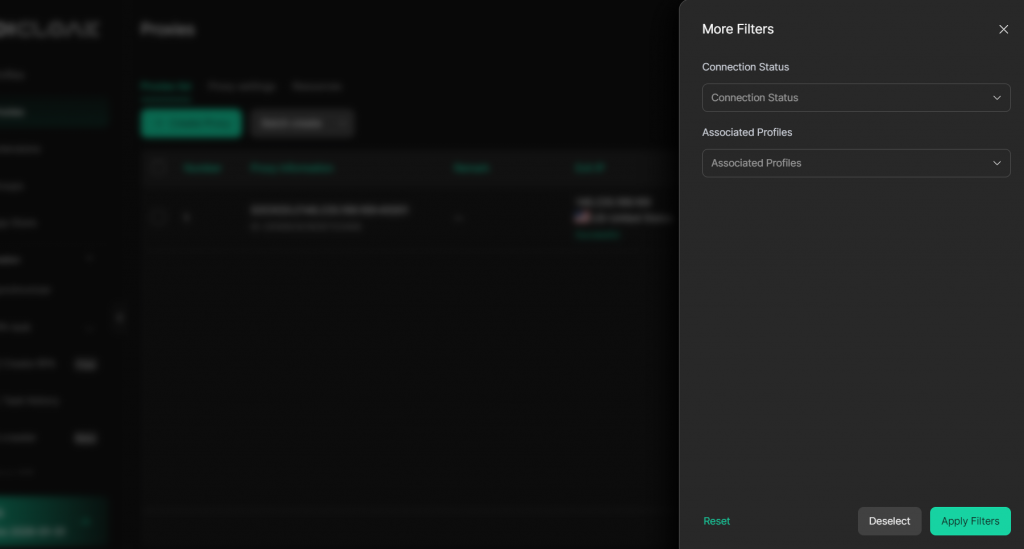
- Proxy Filter: You can filter created proxies by IP address, Proxy ID, Usage profile, Remark, Proxy Type, Connection status or Associated Profiles. Click the Reset button to clear the filter criteria.
- Proxy Information: You can view details such as Proxy ID, Proxy Type, and Proxy IP.
- Remark: Notes you added when creating the proxy, helping you manage multiple proxies efficiently.
- Exit IP: The exit IP is typically the IP address recognized and recorded by external websites, servers, or services when you access them.
- Usage Profile: Information about the profiles that are using this proxy.
- Created Time: The time when you created this proxy.
- Operation: You can test, edit, copy or delete the proxy.