Cloning profiles enables rapid replication of existing configurations, covering browser version, OS, UA, common settings, fingerprint details, proxy info, platform account data, and cloud – stored cookies. This maintains consistency among multiple profiles, streamlines multi – account management, cuts down configuration time and costs, thus significantly enhancing work efficiency and reducing management complexity. This feature requires upgrading to a paid plan.
Profile sharing greatly improves collaboration with both internal and external teams. It allows team members to promptly kick – start work using pre – configured, independent profiles, eliminating repeated setups. This also ensures a unified and secure profile environment, effectively minimizing account – linking risks and protecting account privacy. Additionally, it facilitates internal knowledge transfer, best – practice sharing, and cross – team cooperation, optimizing resource allocation. Combined with automation and intelligent management features, it makes account management more efficient and streamlined. This feature requires a Plus plan subscription to use.
1.Clone profile
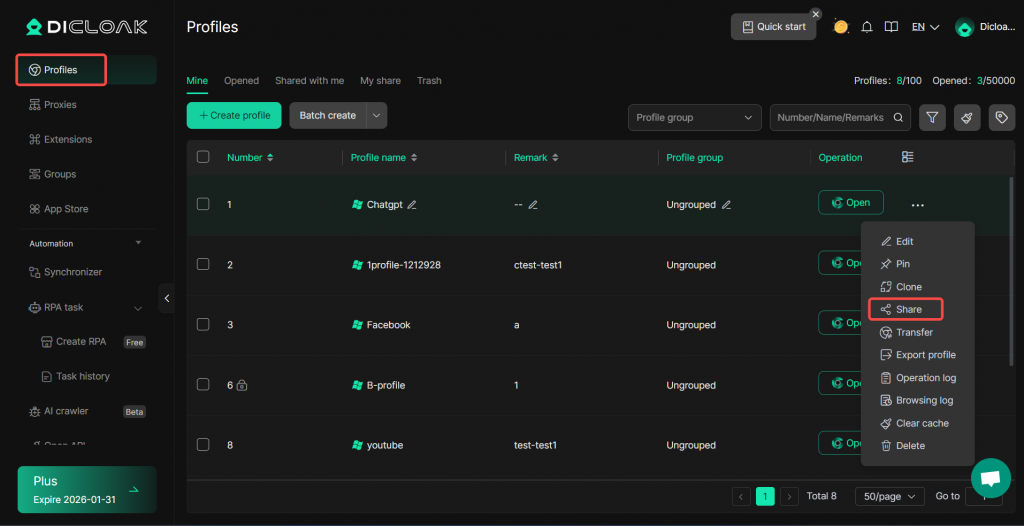
Open and log in to DICloak. Find “Profiles” on the left navigation bar and click the “Clone” button.

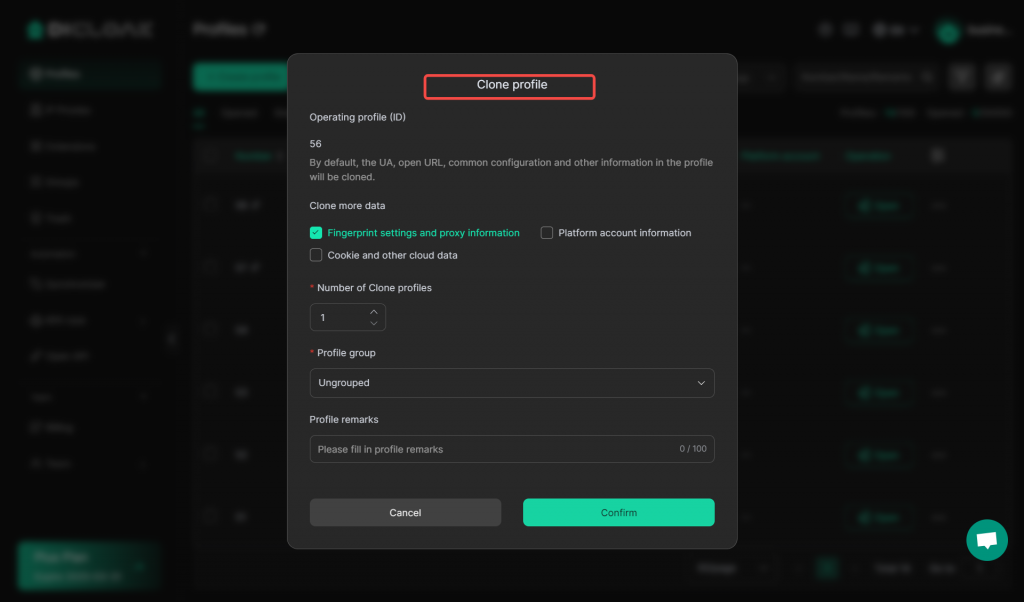
- Clone more data: If you don’t check any of the additional data options, by default, only information such as the User – Agent (UA), the specified open URL, and common configurations within the profile will be cloned. Fingerprint settings, proxy information, platform account information, cookies, and other cloud – based data won’t be included.
- Number of clone profiles: Set the quantity according to your needs to batch – clone profiles.
- Profile group: Assign the cloned profiles to the desired group as per your requirements.
- Click “Confirm” to initiate the profile – cloning process.
2. Share profile
2.1 Single Share
- Click the […] button next to the profile you wish to share, then select [Share].
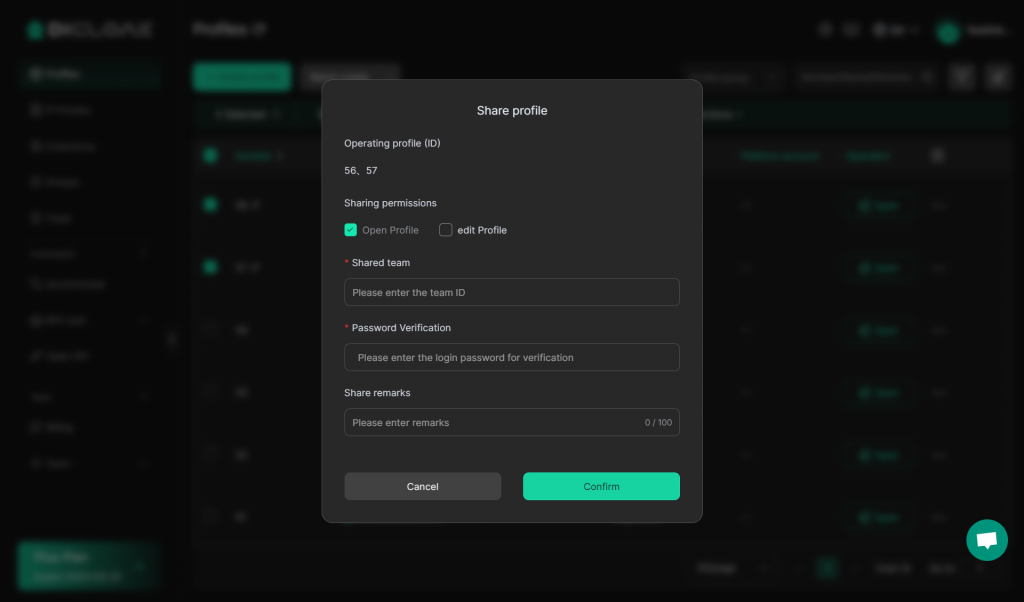
- Edit Sharing permissions, Shared team, Password Verification, and Share remarks. Click [Confirm] to share the profile.

2.2 Batch Sharing
- Select the profiles you wish to share, click [More Actions] –[Shared profile].

- Edit Sharing permissions, Shared team, Password Verification, and Share remarks. Click [Confirm] to share profiles in bulk.
2.3 View Profiles Shared With me
Find “Profiles” in the left navigation bar, and click [Shared with Me] to view details of profiles shared with me.

2.4 View Sharing Records
- Method 1
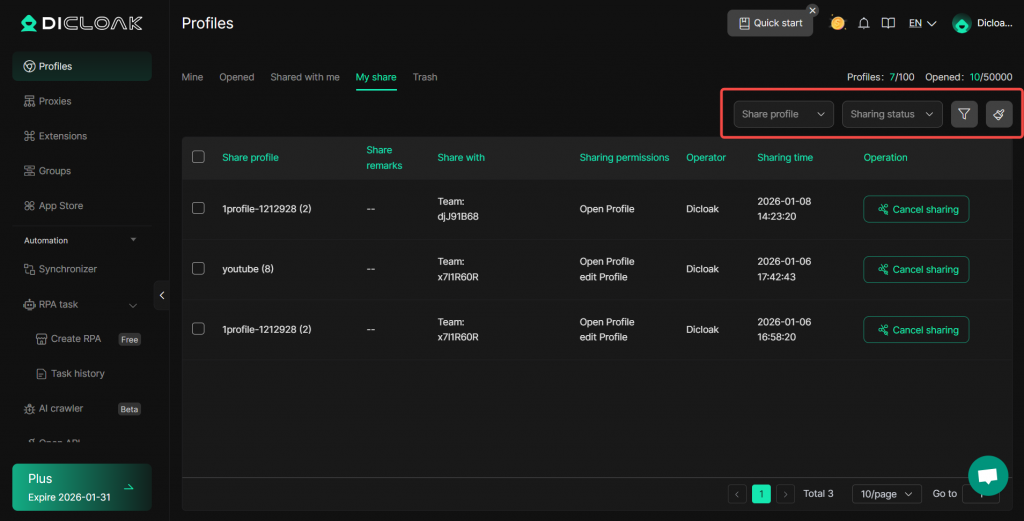
Find “Profiles” in the left navigation bar, and click [My share] to view the profiles I’m sharing with other teams. You can click [cancel sharing] here, and the corresponding team can no longer access the profile..
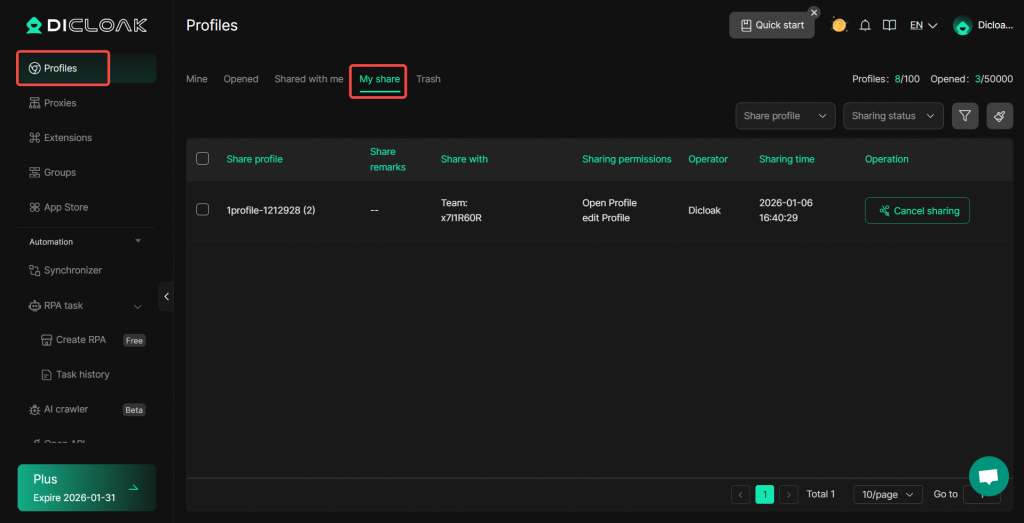
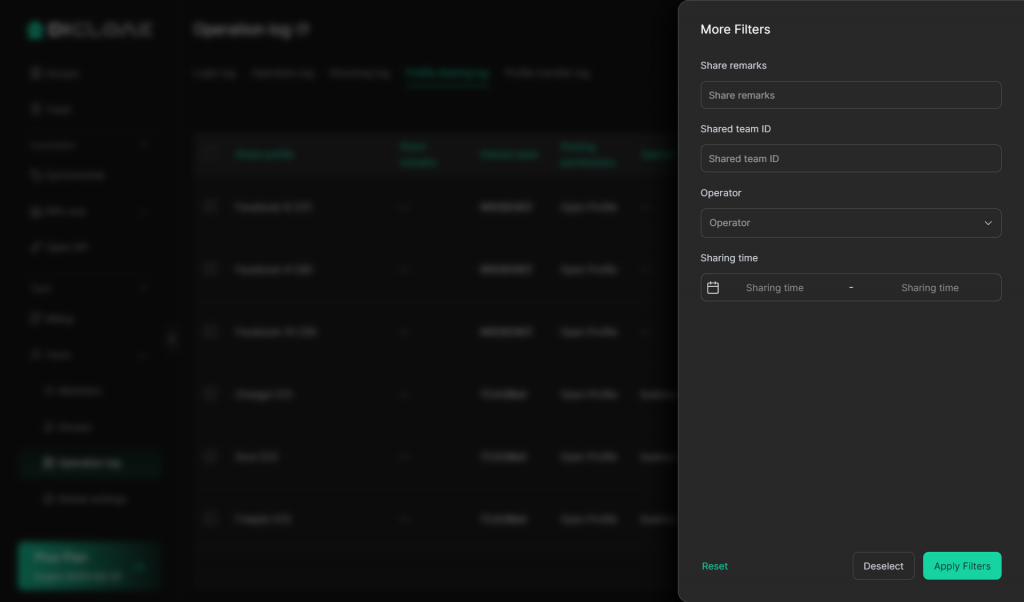
Filter Shared profile data: You can filter shared profile data by Profile name, Share remarks, Shared team, Operator, Sharing status and Sharing time. Click [Reset] to clear filters.
- Method 2
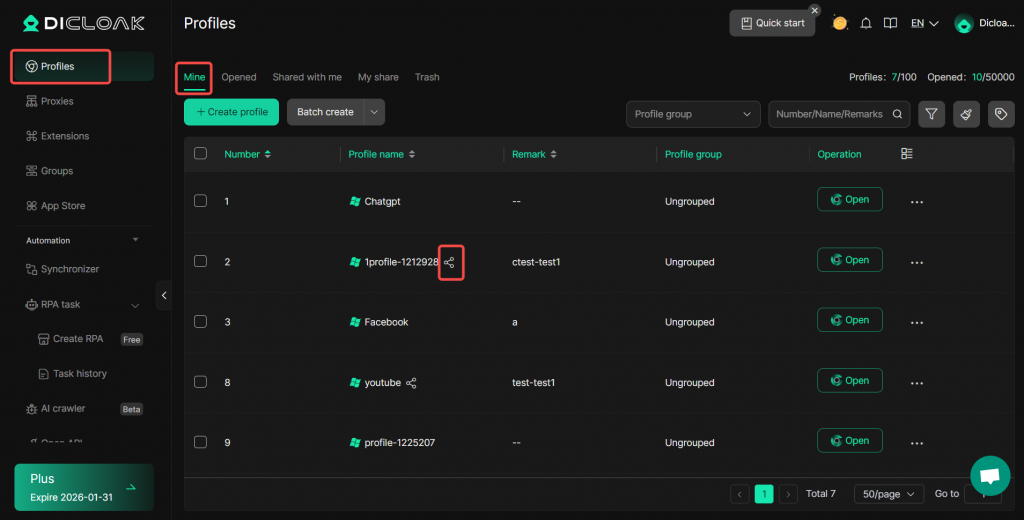
In “Profiles”, a “Share” icon will appear next to a shared profile. Clicking this icon will allow you to view the sharing history of this profile and “Cancel sharing”.

- Method 3
Find “Team” in the left navigation bar and click [Operation Log] – [Profile sharing log] to view the details of the shared profiles. You can clearly see the data of all shared profiles and click “Cancel sharing” here.

FAQs
1.How do I view the Team ID?
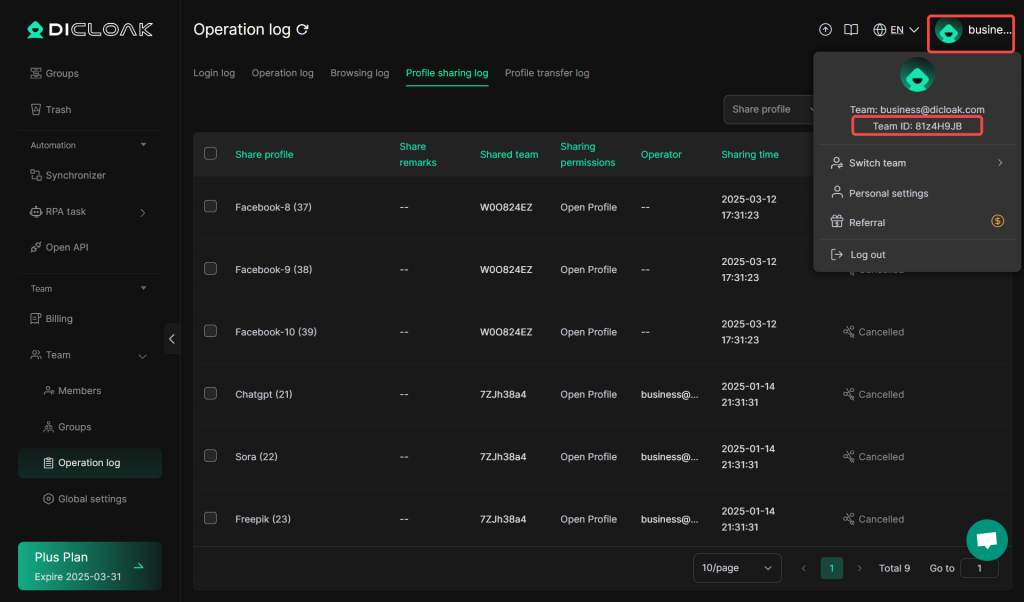
Click the account information at the top right of DICloak to view the Team ID.
2.What password should be entered for password verification?
Enter the login password for the DICloak account you are using.
3.Can shared profiles sync data to the cloud?
Yes. Enable data sync in the Advanced Settings of a profile, then select the data types to be synced to the cloud. Team members with whom the profile is shared will be able to sync the corresponding data.