Scrapeless Proxy
Scrapeless provides premium global clean IP proxy services, specialising in dynamic residential IPv4 proxies. With over 70 million IP addresses in 195 countries, Scrapeless residential proxy network provides comprehensive global proxy support to help your business grow. We support a variety of use cases including web scraping, market research, SEO monitoring, price comparison, social media marketing, ad verification, and brand protection to help you run your business seamlessly in the global market.
Log in to Scrapeless and copy the proxy information
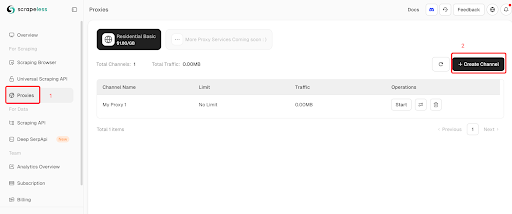
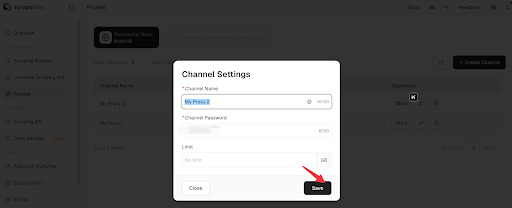
- First, log in to Scrapeless, select “Proxies” (1) in the Dashboard, then select “Create Channel” (2), set the corresponding information and click “Save”.
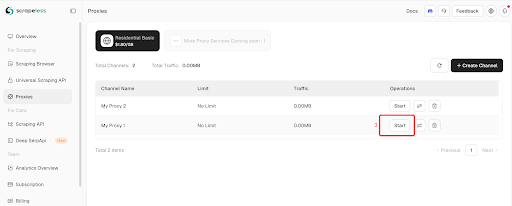
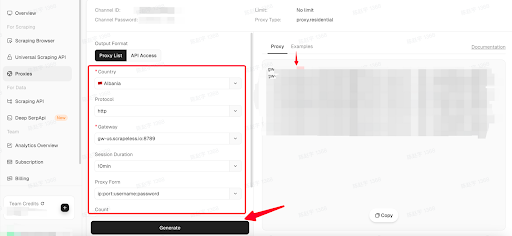
2. Click “Start” (3) to enter the proxy configuration page. Users can create a proxy according to their needs. Click “Generate” to generate the corresponding residential proxy.
Configure Scrapeless Proxy in DICloak
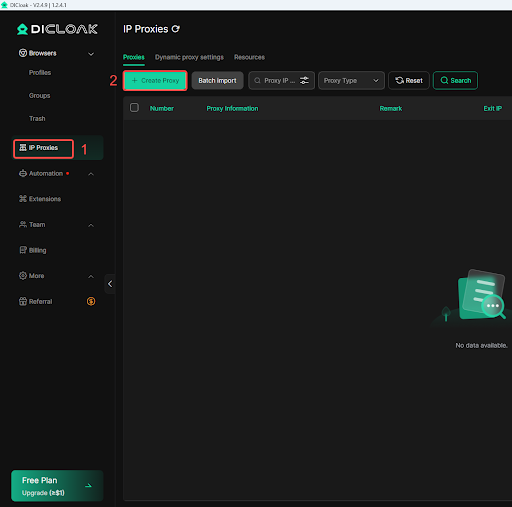
- Log in to DICloak and find IP Proxies (1) on the left navigation bar. Then Click Create Proxy (2).
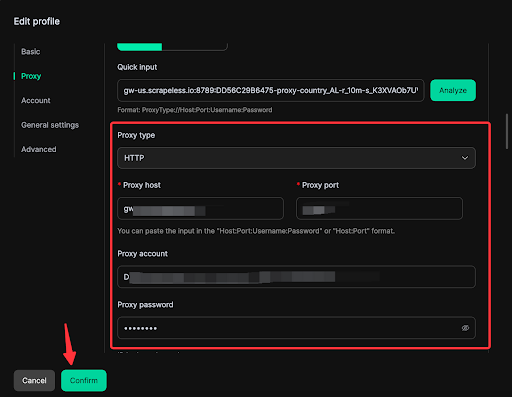
2. Select the proxy type (HTTP or socks5), then click “Proxy host” (3) and paste the Scrapeless proxy information.
You can extract the specific information from the Proxy URL generated by Scrapeless. The proxy URL provided by Scrapeless represents the following information in sequence: [HSOT:PORT:USER:PASS]. Then click “Confirm”.
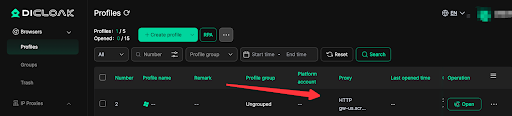
3. On the browser configuration interface, you can see the successfully configured browser. Click Open to use it. Once the proxy is set up, you can use it when creating a browser profile by selecting “Saved Proxy” and choosing the proxy you have set up.
You have successfully integrated Scrapeless with DICloak!