Infatica Overview
Infatica is a global proxy network and web data solutions provider, offering a full range of proxy types – including residential, mobile, ISP, and static/shared datacenter proxies – to meet diverse use cases. With access to 190+ countries, Infatica enables precise geolocation targeting for activities like market research, ad verification, and competitive intelligence. Beyond proxies, we also provide web scraping services to help businesses collect and structure public web data at scale. Our commitment to security and quality is backed by several ISO/IEC certifications, ensuring rigorous information security management standards.
Infatica Proxy Configuration
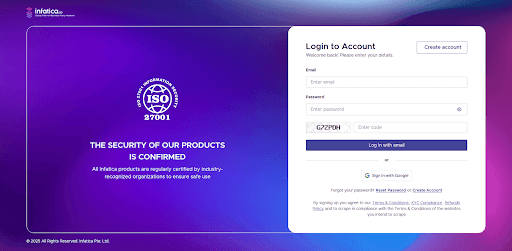
- Log in to your Infatica account
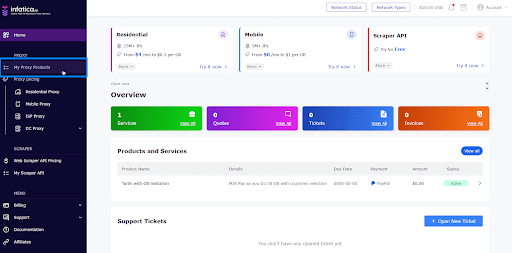
First, log in to your Infatica account and navigate to the “My Services” section.
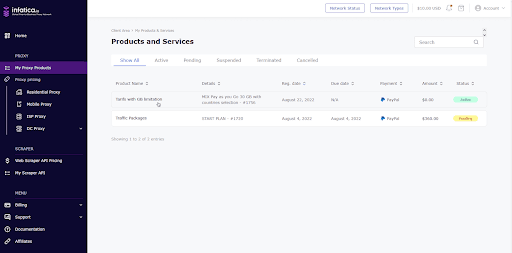
There, you’ll find the proxy package you’ve subscribed to. Click on it, then select “Generate Proxy List”.
- Copy Infatica proxy details
A new tab will open, which will display a list of your Infatica proxies in the following format:
proxy1.infatica.io:3719
proxy2.infatica.io:17293
proxy3.infatica.io:14203
Keep this tab open – we’ll need it for the next step.
- Configure Infatica Proxy in DICloak
Note: Internet connections within mainland China (excluding Hong Kong, Macau, and Taiwan) typically cannot access foreign IP addresses directly. If you’re setting up an overseas proxy in DICloak from mainland China, you’ll first need to establish an international connection – such as through a VPS, a dedicated international line, or a VPN service. Once your device is connected to an overseas network, you’ll be able to configure and use the proxy in DICloak without issues.
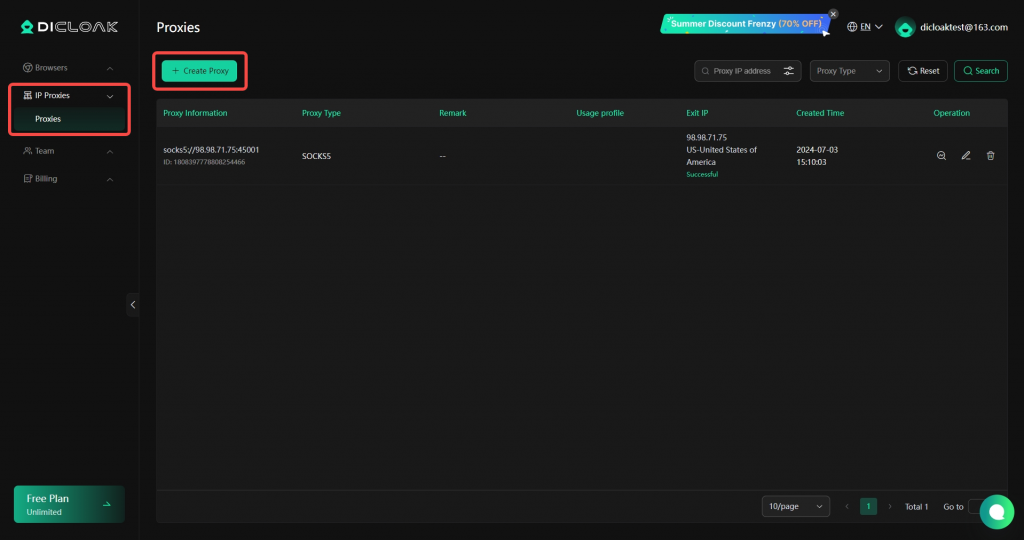
Log in to your DICloak account. In the left-hand menu, go to “Proxies” and click “Create Proxy”.
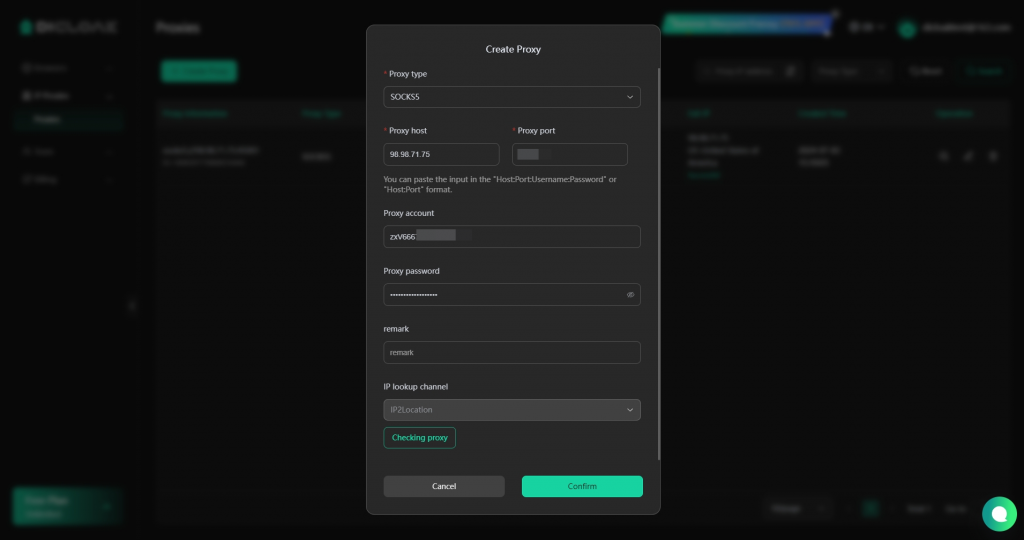
Using the proxy details from your Infatica dashboard, choose the proxy type and copy and paste the following into the corresponding fields in DICloak:
- Proxy Host
- Proxy Port
- Proxy Username
- Proxy Password
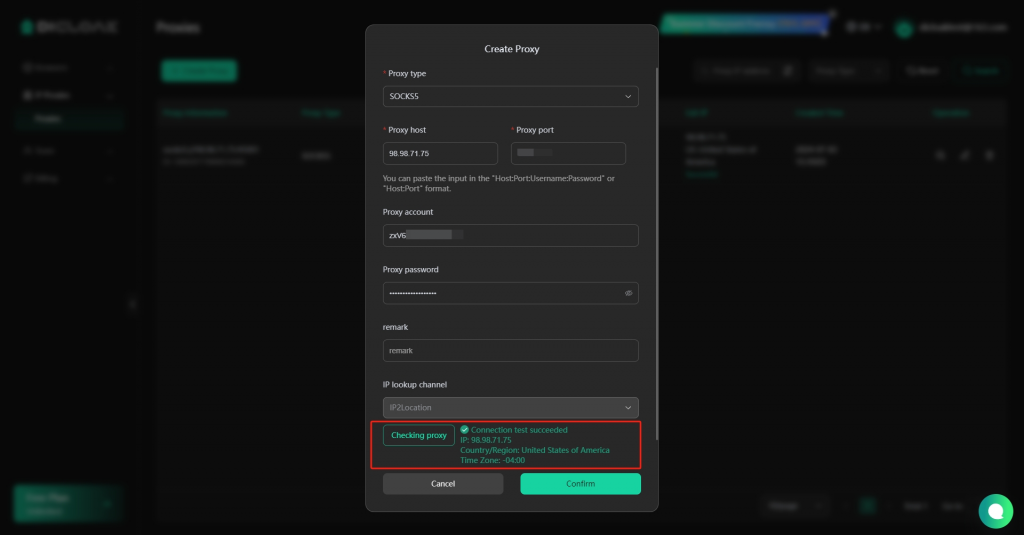
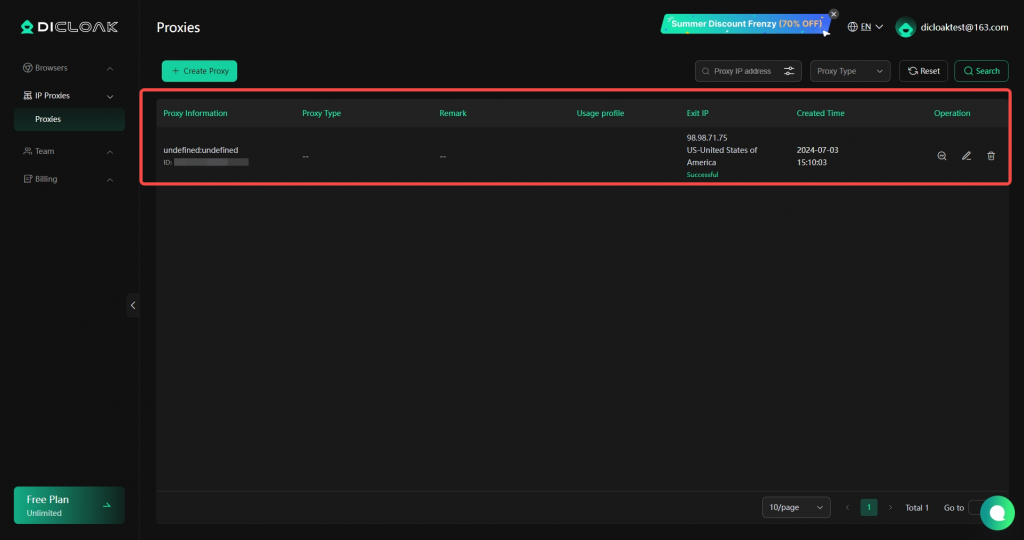
Click “Check Proxy” to test the connection. If the proxy is working correctly, click “Confirm” to save it.
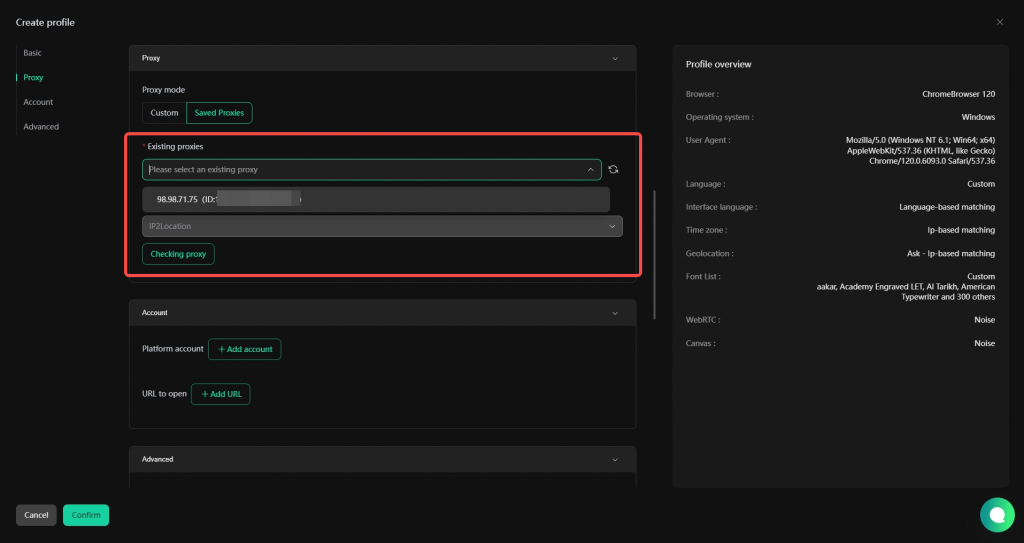
Once saved, you can assign this proxy to any browser profile by selecting it from “Saved Proxies”.