DICloak lets you anonymize your device information to hide your identity online. Your web browser stores certain information that can be used by websites and advertisers to track you online. It’s not just about hiding the IP address anymore; there is plenty of other information that gets used to identify a user.
We’ll show you how to enhance your DICloak profile by integrating NinjaProxy’s robust proxy solutions.
What you’ll need
- An active NinjaProxy subscription
- DICloak client on your computer
What is NinjaProxy?
NinjaProxy is a proxy provider with over a decade of experience in delivering high-quality proxies to its customers. It has a network spanning over 50 geo-locations worldwide and covers various proxy solutions such as shared private, premium, residential, and mobile proxies.
Being one of the oldest proxy providers in the market means that NinjaProxy has a solid track record. It also offers some of the most affordable proxies, starting at just $0.09/proxy with an impressive unlimited data usage policy on all plans.
Key highlights:
- 50+ geo-locations worldwide
- Unlimited data policy
- Affordable residential proxy plans
- 24/7 customer support
- HTTP/HTTPS and SOCKS5 support
How to Get NinjaProxy Working on DICloak
1.Once you have an active NinjaProxy plan, head over to the client login area to get your proxy server details.
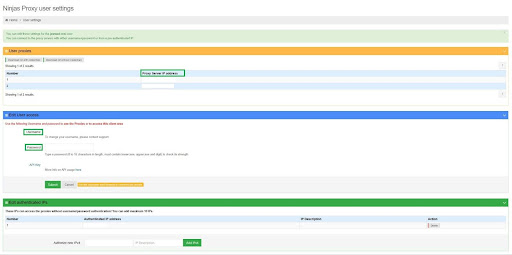
2.Copy the proxy server’s IP address and port number, as well as your NinjaProxy username and password.
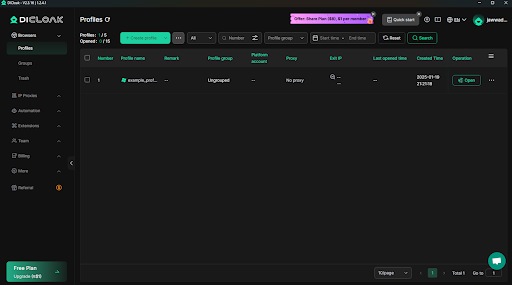
3.Launch DICloak.
4.From the home screen, go to IP Proxies > Proxies, then click on Create Proxy.
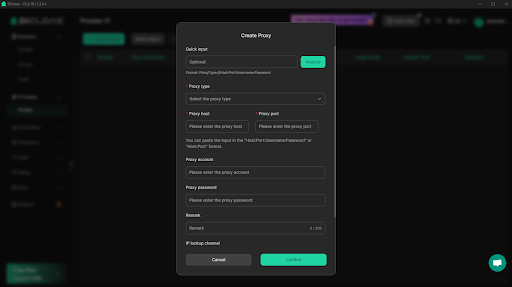
5.Enter all the information that you collected in Step 2 in the correct fields. Then save the proxy profile.
The proxy server is now ready for use. Next, you can assign the proxy server while setting up or editing an existing browser profile in DICloak.