DICloak’s Antidetect Browser provides teams with a secure and efficient account-sharing solution, allowing multiple members to easily and safely use the same tool account (e.g., ChatGPT, Canva, etc.) simultaneously. This guide will walk you through how to implement account sharing with DICloak, helping you get started in just 5 minutes.
1 Preparation Before Account Sharing
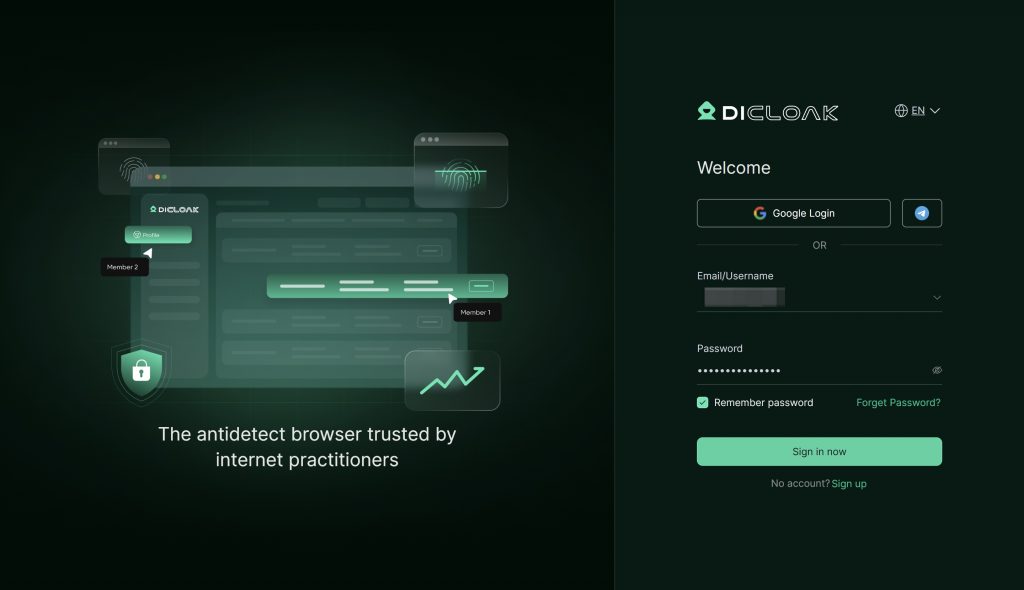
1.1 Download and Register DICloak Browser
- Visit the official DICloak Antidetect Browser website to download the software. Currently, DICloak only supports running on desktop devices (Windows, macOS,Linux).
- Register and log in to your DICloak account.
1.2 Subscribe to an Appropriate Paid Plan
Before using DICloak for account sharing, you should choose the right paid plan based on the team size and number of accounts you wish to share.
1.2.1 Confirm the Team’s Situation:
- How many people in your team will use the tools? —–Purchase the number of members based on how many team members there are.
- How many tools will be shared?—— Purchase the corresponding number of browser profiles based on how many number of tool accounts need to be shared.
Important Note: The choice of your paid plan should mainly depend on the number of team members.
1.2.2 Learn more about the Paid Plans:
- Base Plan: Starting at $8.00/month. The base plan supports 2 members by default, additional members cost only $3/person/month. The plan includes 20 profiles by default.
- Plus Plan: Starting from just $28.00/month, it supports 1 member by default. Additional members cost only $5/person/month, and each added member supports simultaneous multi-device login. The plan includes 100 profiles by default!
- Share+ Plan: Starting at $138.00/month, supports unlimited member access and 200 profiles.
1.2.3 Choose the Right Plan:
Example 1: My team has 10 people, and I need to share 1 ChatGPT account. I can subscribe to the Base Plan and purchase 10 member seats.
Example 2: My team has 100 people, I need to share 1 ChatGPT account, and I do not need to manage each user’s usage period or functional permissions. I can subscribe to the Plus Plan and purchase 2 member seats.
Example 3: My team has 100 people, and I need to share 10 ChatGPT accounts. I can directly subscribe to the Share+ Plan.
Tip: You can visit the DICloak Antidetect Browser official website to view the full list of paid plans for more detailed information.
1.3 Prepare Static Residential Proxies
To ensure the stability and security of account sharing, we recommend configuring static residential proxies for your browser profiles. Static residential proxies provide stable and independent IP addresses, effectively avoiding account security issues caused by frequent IP changes.
Important Note: DICloak does not require you to purchase proxies necessarily, but to ensure the security and long-term stability of your tool account, we recommend purchasing and configuring static residential proxies for your profiles. Normally, it is enough to buy just one proxy.
1.3.1 Why Do You Need Static Residential Proxies?
- Avoid Security Risk: When multiple members use the same account from different locations or networks, frequent IP address changes may trigger the platform’s security detection mechanism, leading to account restrictions or bans. Static residential proxies provide a fixed “identity” for shared accounts, reducing the risk of security checks.
- Improve Stability: Ensure stable login environments for accounts, minimizing login failures or interruptions due to network issues.
- Regional Matching: Select proxies for corresponding countries or regions based on the locations of your team members.
1.3.2 Where Can You Buy Static Residential Proxies?
DICloak does not provide proxy IP services directly. We suggest:
- Searching for relevant proxy service providers on the internet.
- Visiting the “Proxies” → “Proxy Resources” page in DICloak Antidetect Browser to check out DICloak’s partner proxy providers.
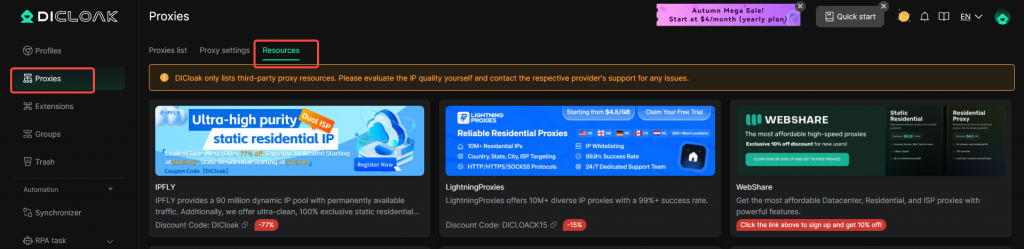
Important Note: The “Proxy Resources” page shows third-party proxy services. Please assess the quality of IPs (since IP quality can affect web access experiences, we recommend testing them). If you encounter any issues, contact the corresponding proxy service provider’s support.
2 Necessary Configuration Steps for Account Sharing
2.1 Enable Essential Account Sharing Features
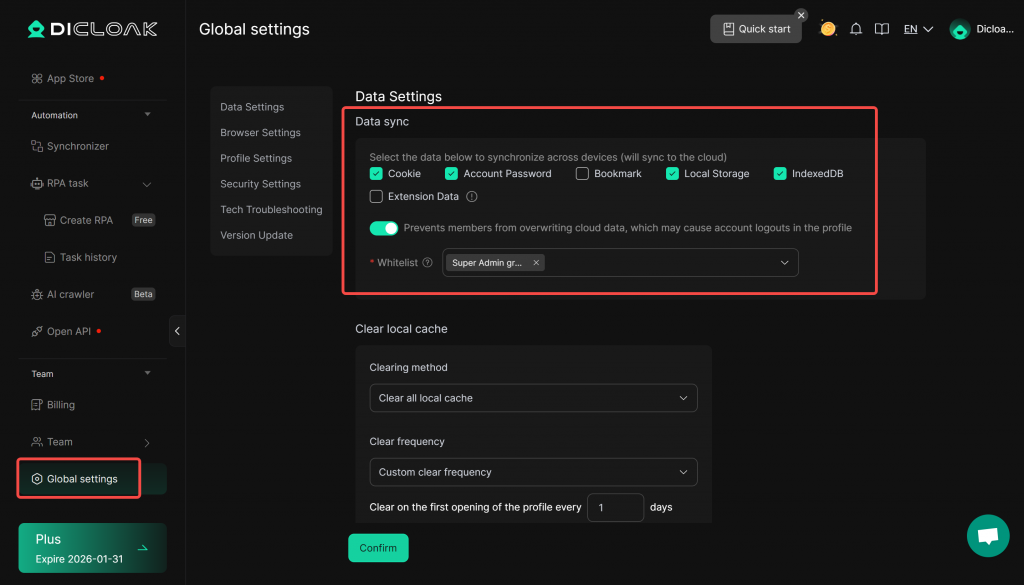
- Enable Data Sync: Go to [Global Settings] and enable the data sync feature.
- Enable Multi-open Mode: Go to [Global Settings], find the [Multi-open mode] option, and select [Allow].
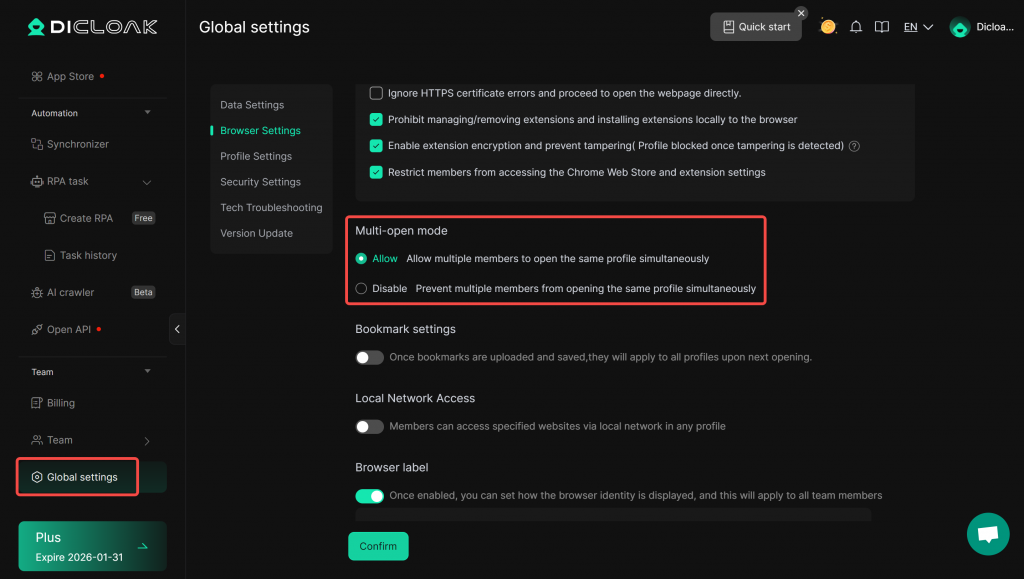
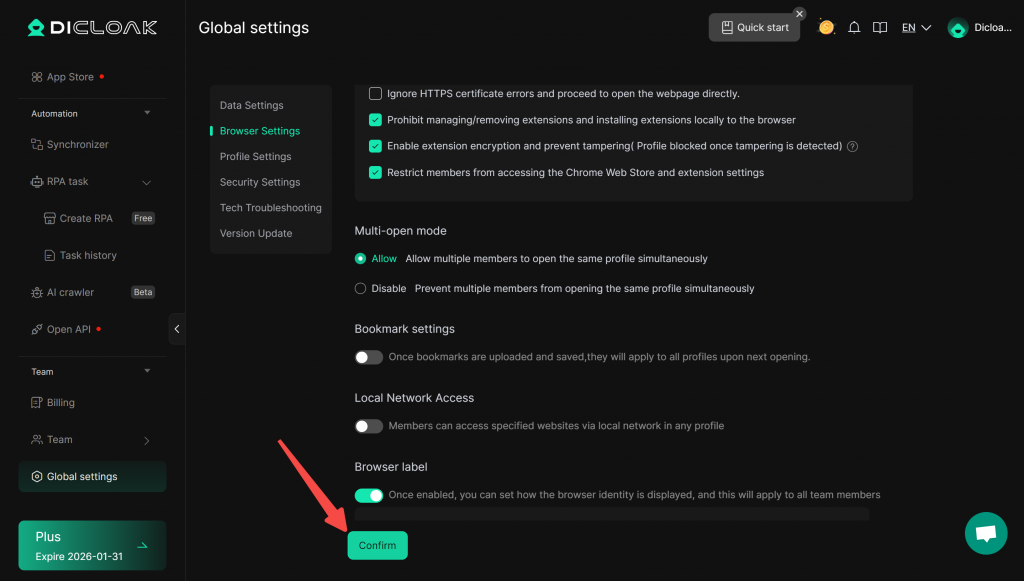
- Save Settings: Click [Confirm] to save the settings.
2.2 Configure Browser Profiles for Account Sharing
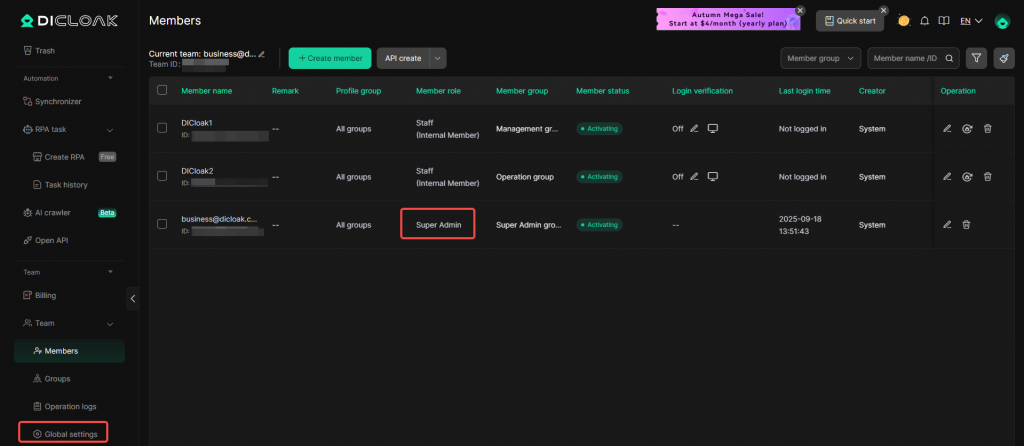
Important Note: Perform the following operations using the super admin account (you can find the admin account in the member list).
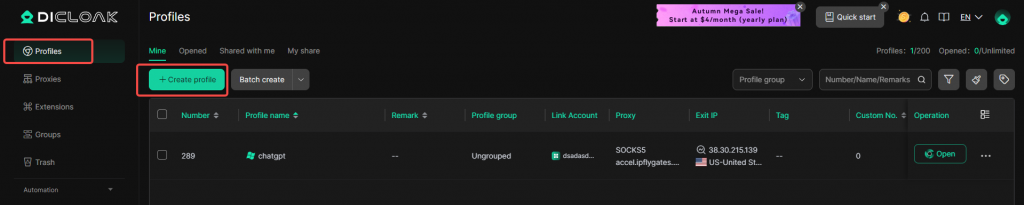
- Create a Profile: In the main interface, find and click [Profiles], then click [Create Profile]. The system will pop up a profile configuration page.
- Add Account: Click [Add Account], select [Other Accounts (Custom)], and enter the tool’s URL, account, and password to bind the tool account for sharing.

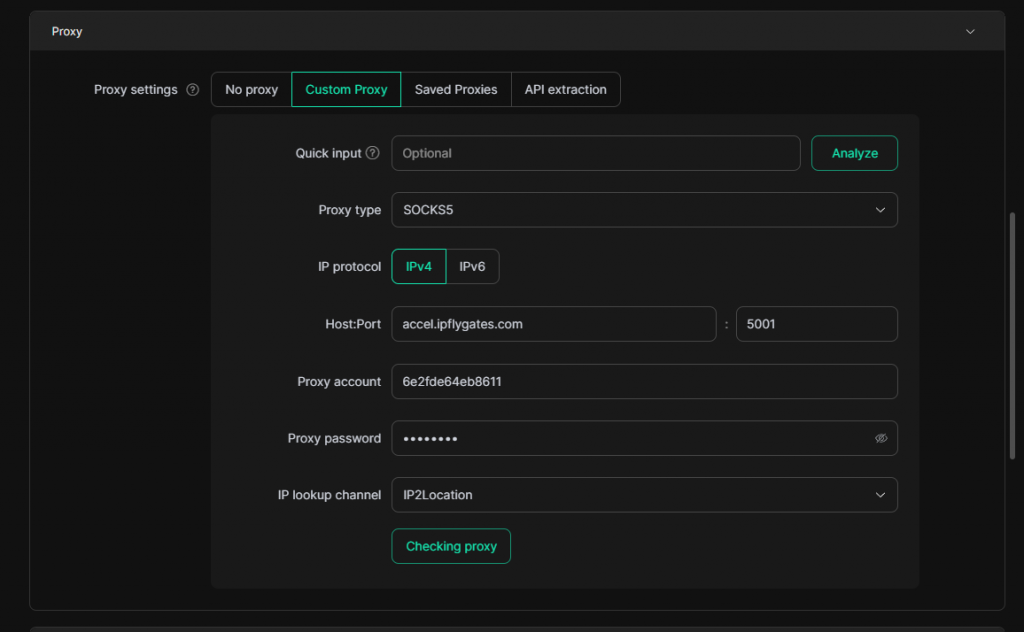
- Configure Proxies (if available): Enter the purchased static residential proxy IP information in the corresponding input fields (if unsure how to enter, you can consult the proxy service provider’s support or DICloak support).
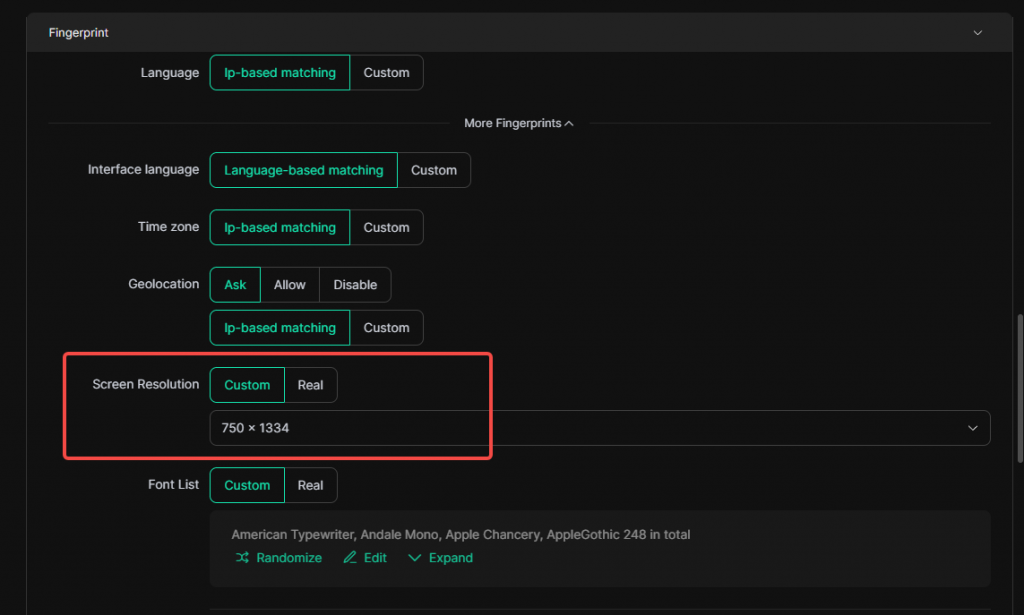
- Configure Fingerprints: It is recommended to set the resolution to custom (you can choose the resolution based on your needs).
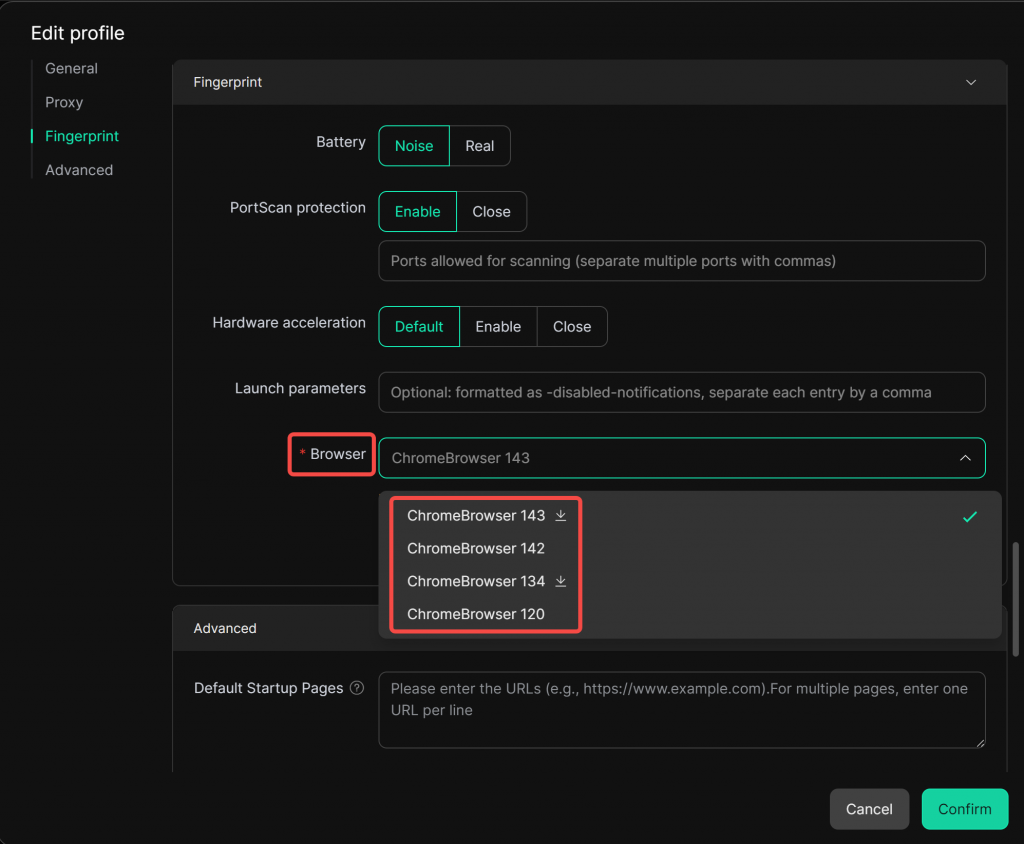
- Select Browser Kernel Version: The default kernel version is 142. If you want to experience a newer browser version, select kernel version 143.
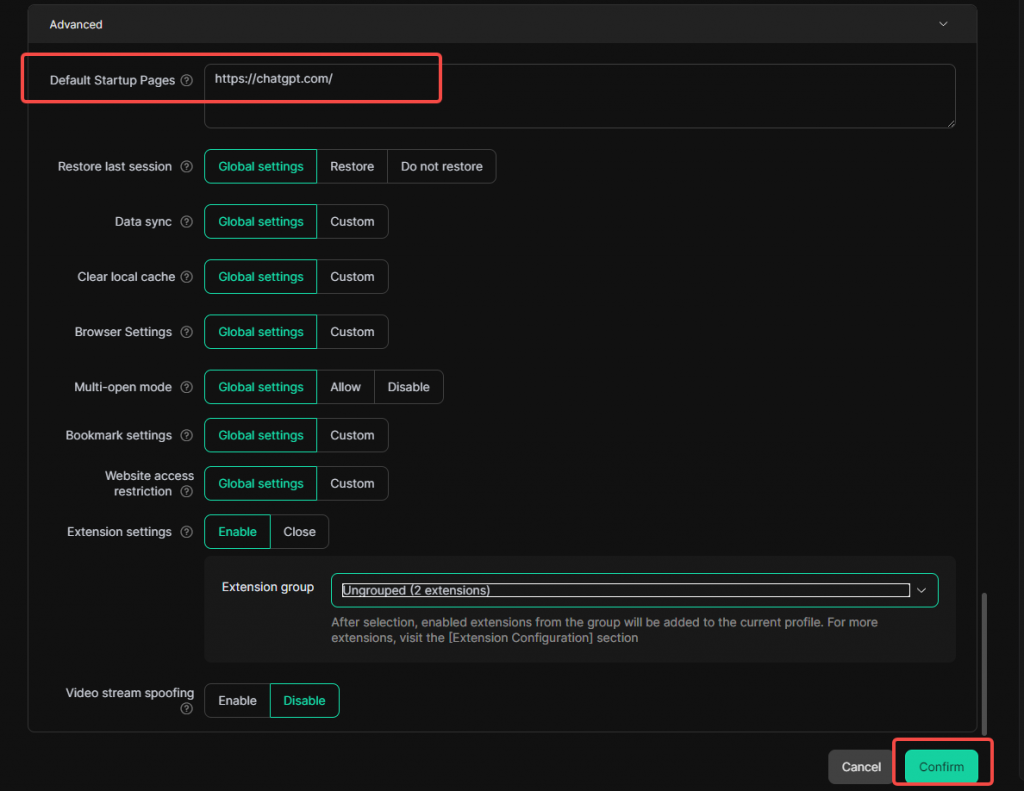
- Set Default Startup Page: Enter the tool’s website URL in the “Set Startup Pages” section, so every time you open the profile, it will directly visit the tool’s page.
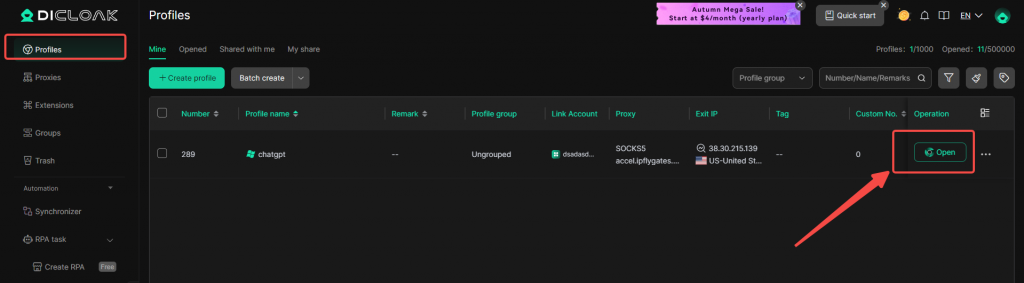
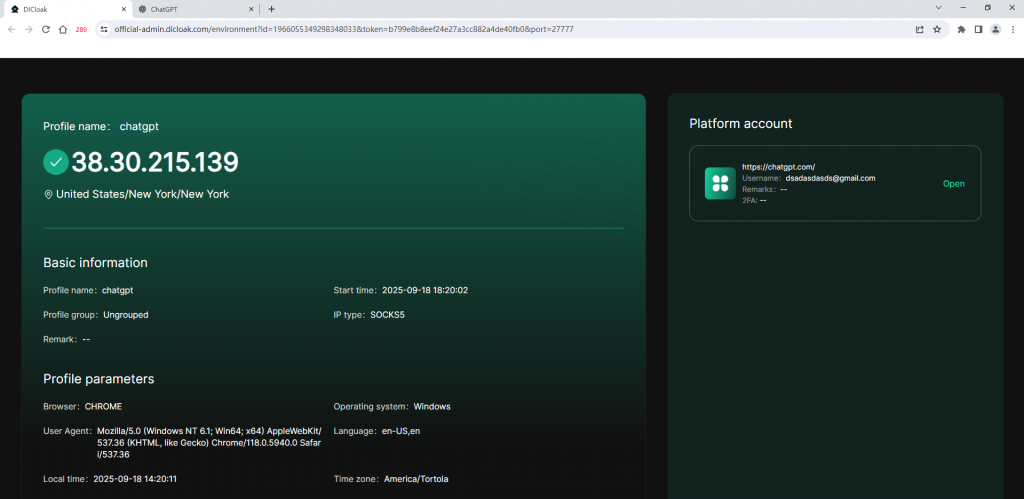
- Open Profile: Go to [Profiles] list and click [Open].

- Log into the Tool Account: Log in using the account and password.
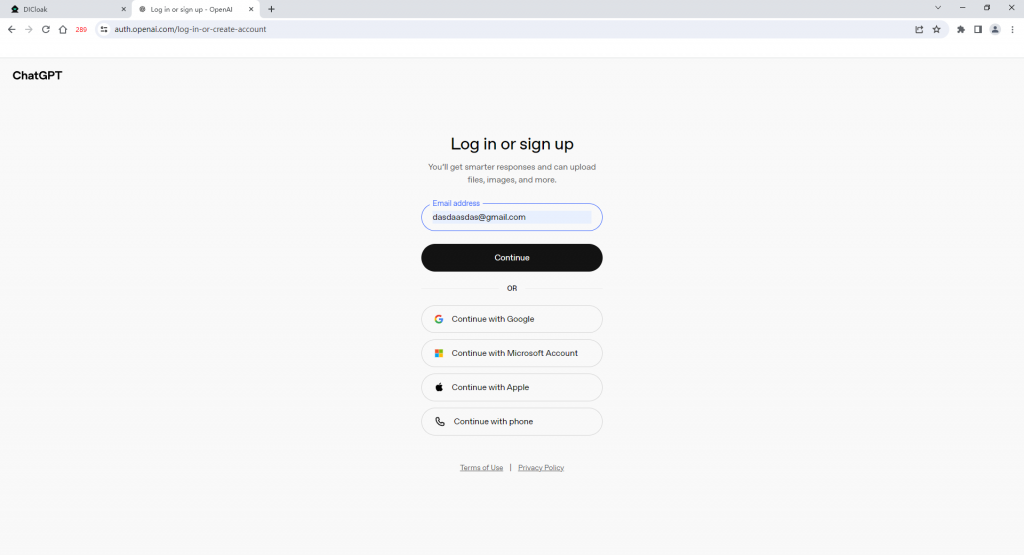
- Save Settings: Close the profile, the tool’s login status will automatically sync to the cloud.
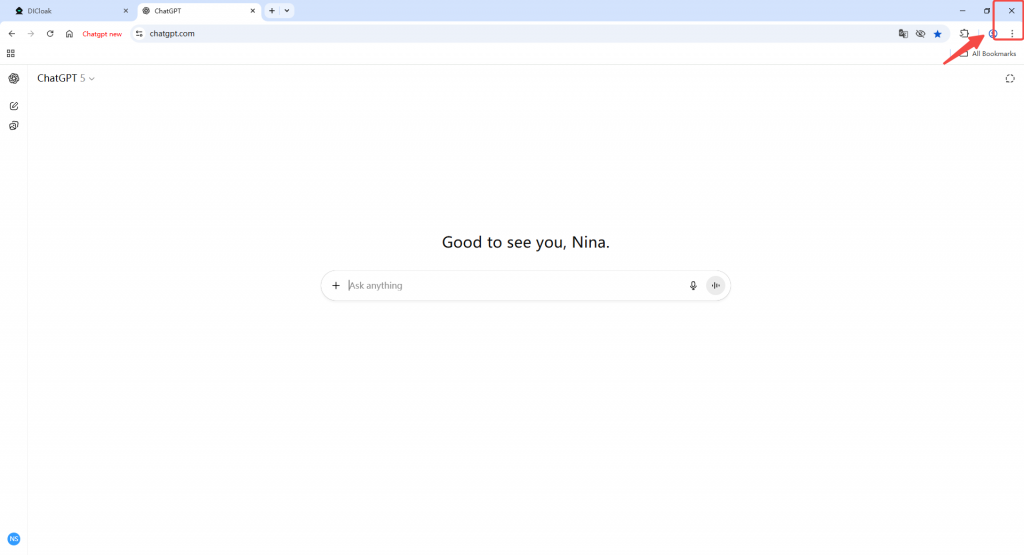
- Check the Tool’s Login Status: Reopen the profile and ensure the tool remains logged in to complete the setup.

2.3 Create Member Account to Access to the Tool
- Create Members: Go to [Members], click [Create Member], and we recommend creating [Internal Members], which allow you to set more management permissions for members.
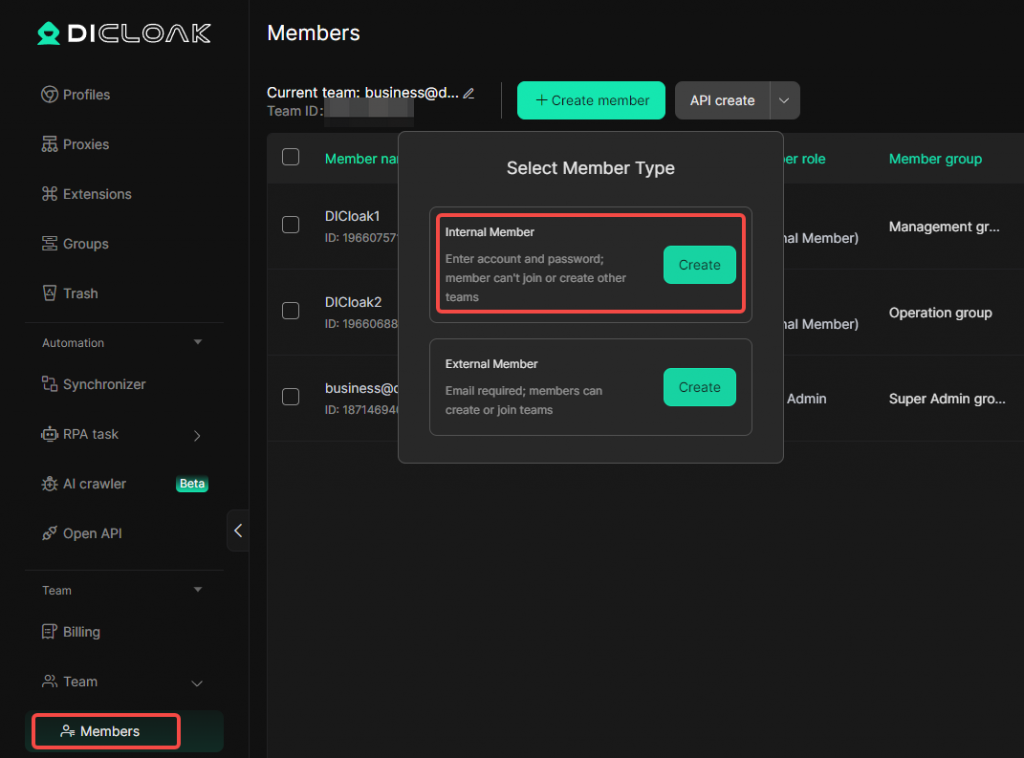
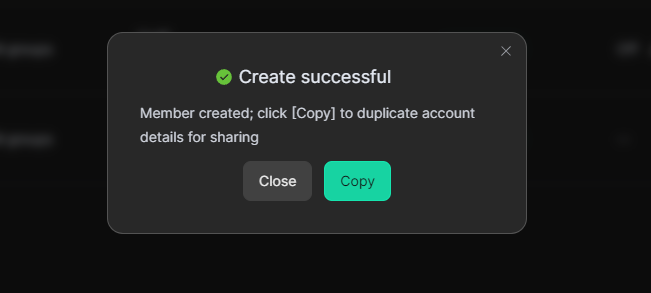
- Share Account Information: After successfully creating members, copy the DICloak login account and password and share them with the corresponding team members. They will use these credentials to log in to the DICloak Antidetect Browser and access the tool.
3 How Members Access the Tools
After the admin completes the profile configuration and member creation, team members can easily use the tools by following these steps:
- Download and Log into DICloak: All members must first download and install DICloak Antidetect Browser, then log in using the member account information provided by the admin.
- Use the Tool: Find the tool profile that needs to be used, click [Open] to access and use the tool.
4 Advanced Account Sharing Feature Settings
4.1 Team Member Access Permissions Settings
4.1.0 Use API to Create and Edit Members
4.1.1 Assign Members to Specific Profiles
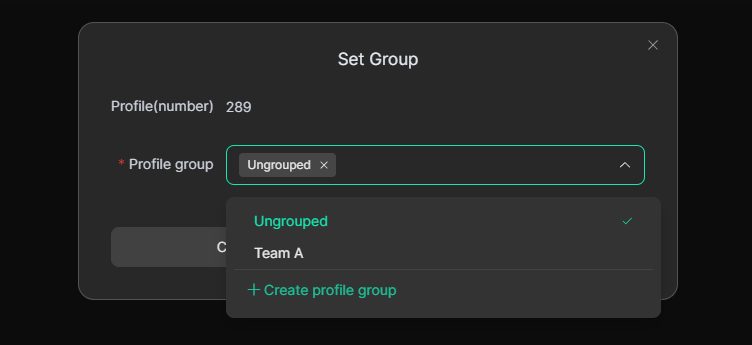
- Go to the profile list to create and select the corresponding profile group, then save the settings.

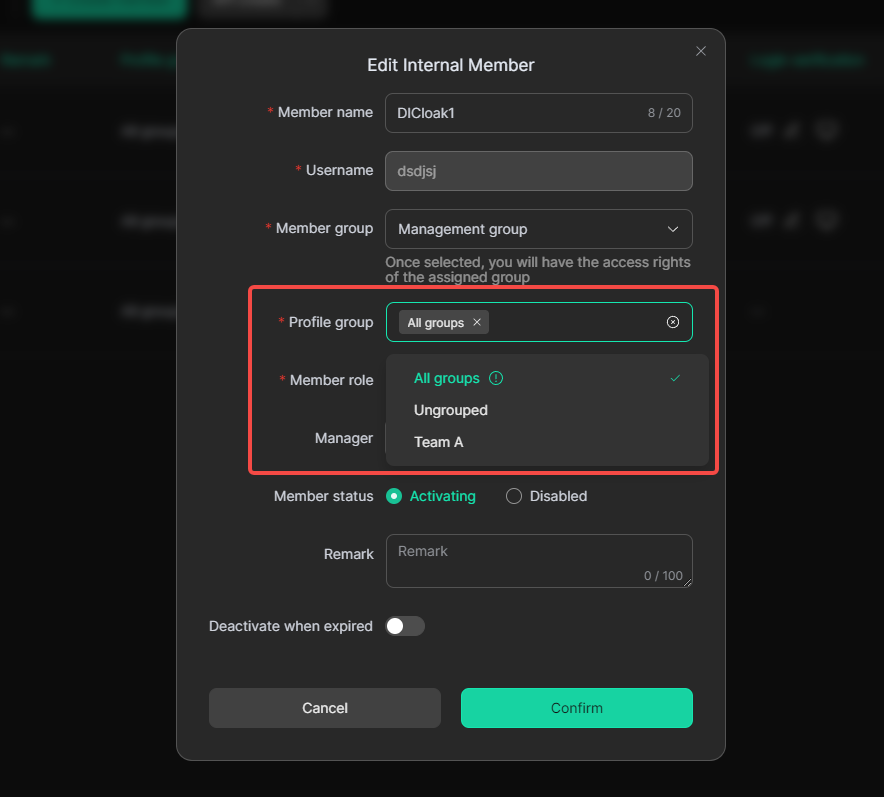
- Go to the member list to assign the corresponding profile group to the members and save the settings.

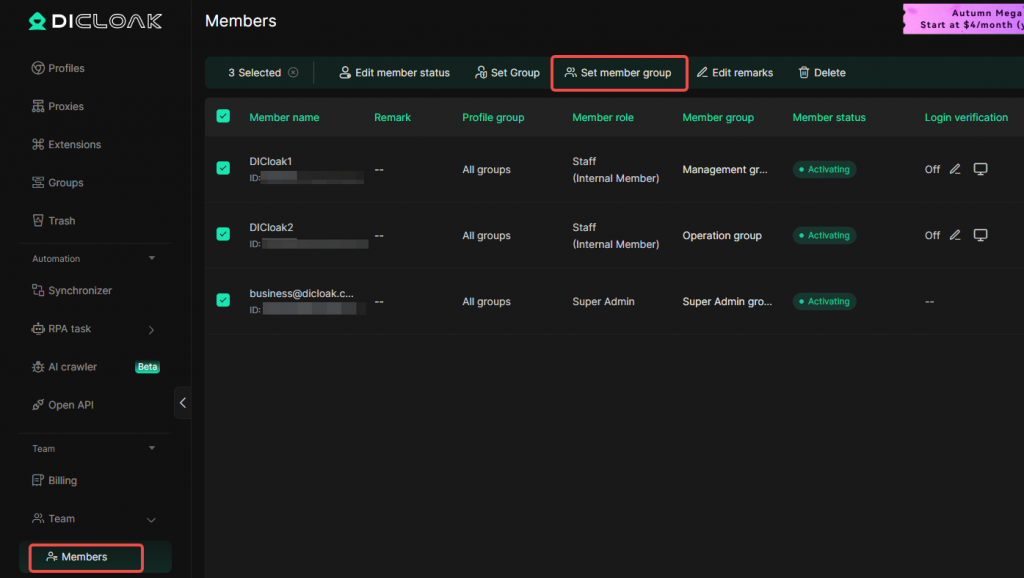
- Assign accessible profile groups to members in bulk.
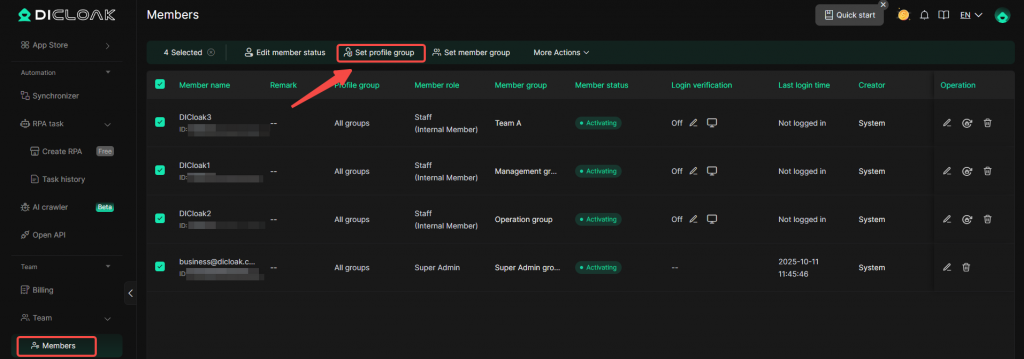
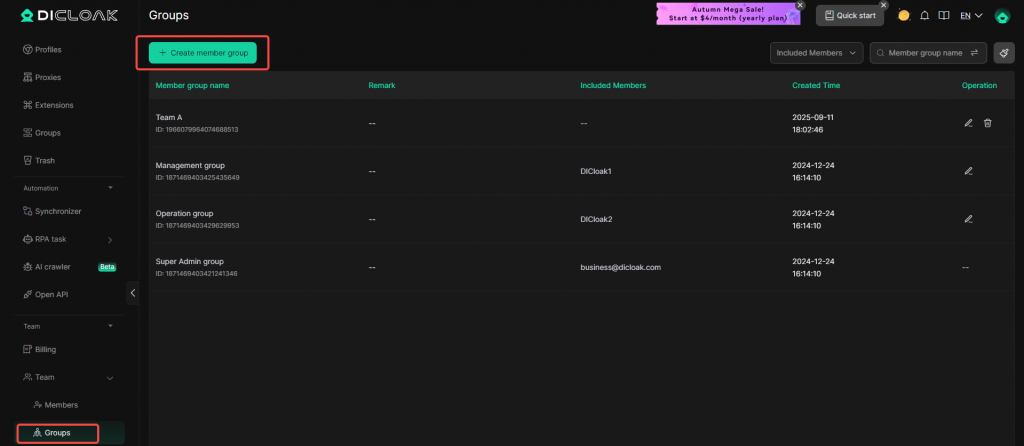
4.1.2 Assign Browser Function Permission for Members
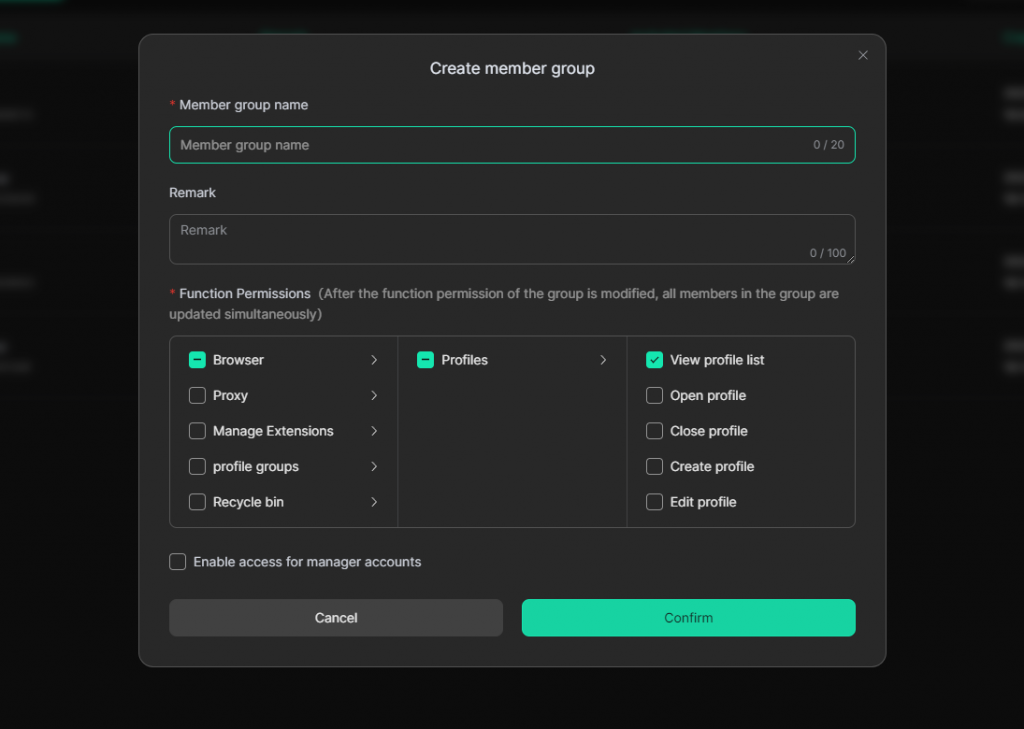
- Go to the [Groups] to create the corresponding member group and set the permissions.
- Go to the member list to assign the corresponding member group to the members and save the settings.

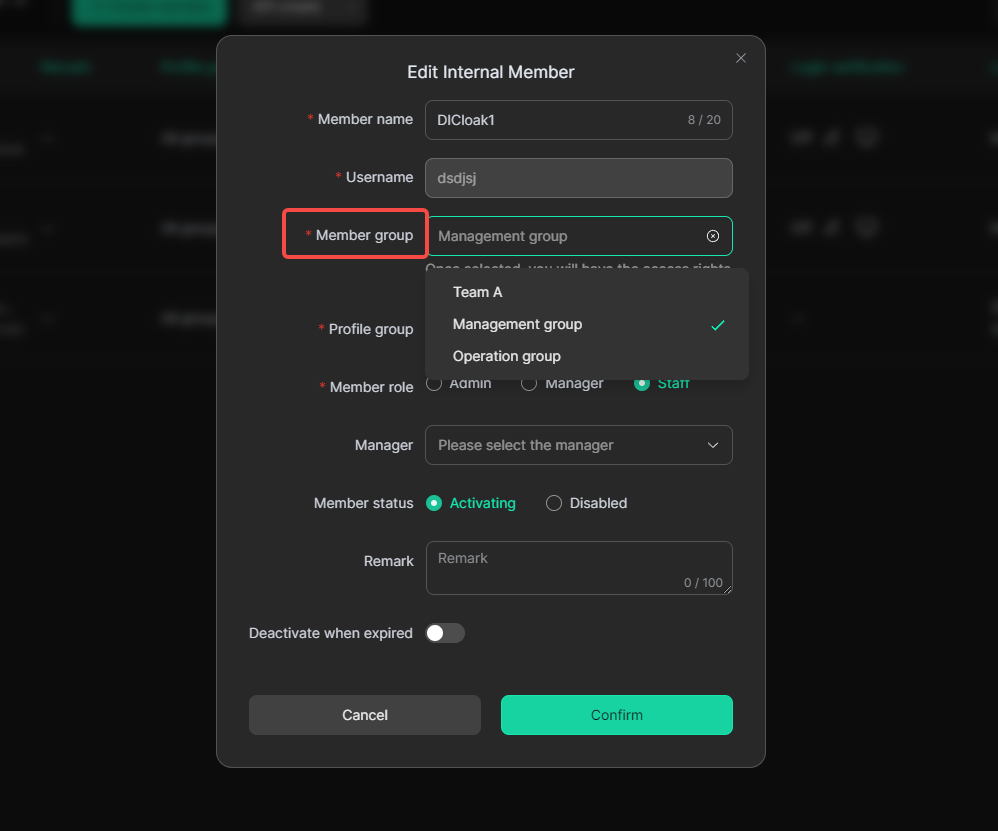
- Assign accessible member groups to members in bulk.
4.1.3 Set 2FA Verification for members
Important Note: Currently, 2FA is only supported for internal members. If you use 2FA Verification, your members will need to contact the team admin for the 2FA verification code when logging in from new devices. This feature can prevent members from sharing login account information at will.

- Go to the member list, find the internal member account for Login Verification setup, click “Edit”, and enable 2FA.


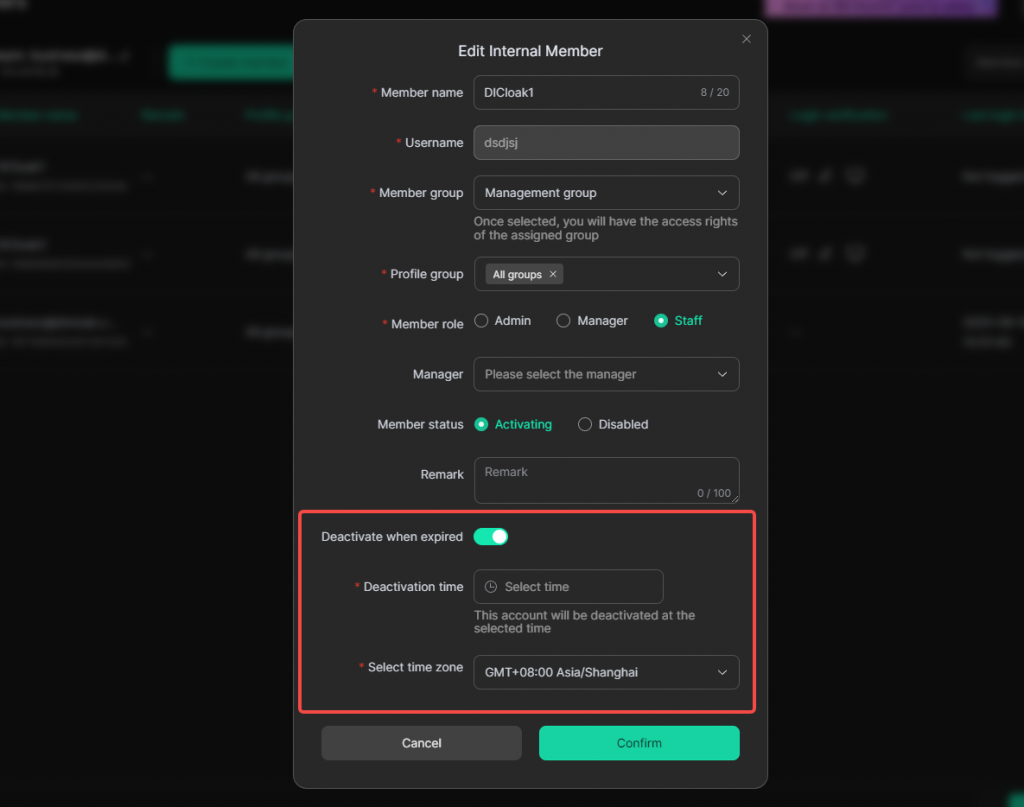
4.1.4 Set Member Account Deactivation Time
- Go to the member list, find the member account to set the Deactivation Time, click the “Edit” button.
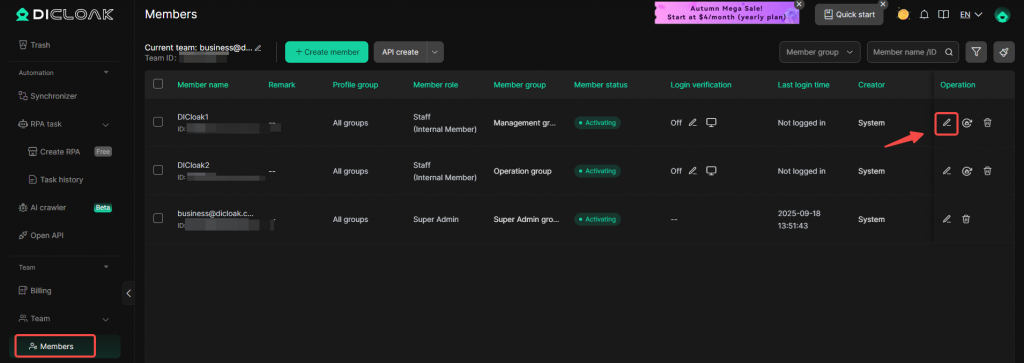
- Set the deactivation time for the member.
4.1.5 Member Notification Extension Features Settings
Use the “Notification Assistant” extension to display pop-up reminders in the profile browser, notifying members whose accounts are about to expire to renew in time.
4.2 Tool Account Security Settings
If you want to prevent team members from stealing your tool accounts, we recommend enabling the following features:
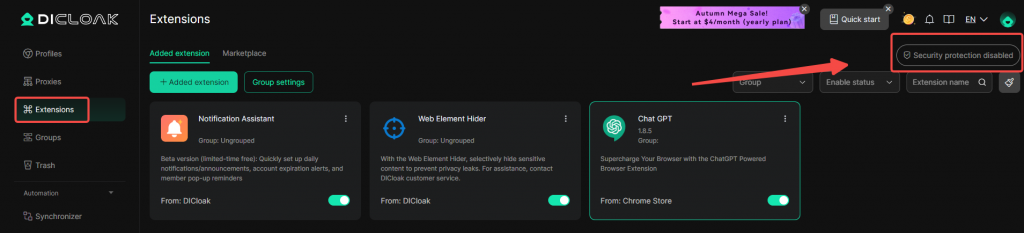
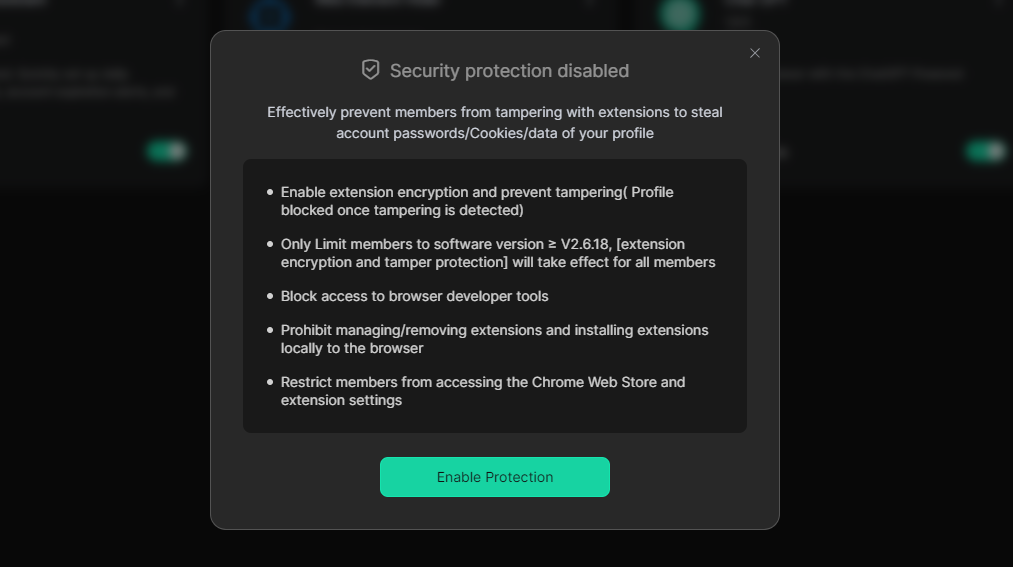
4.2.1 Enable Security Protection Features
- Go to [Extensions] and enable the [Security protection] feature.
4.2.2 Use Web Element Hider Extension
Use the “Web Element Hider” to hide certain buttons or modules on webpages, such as “Account Management” or “History” entries.
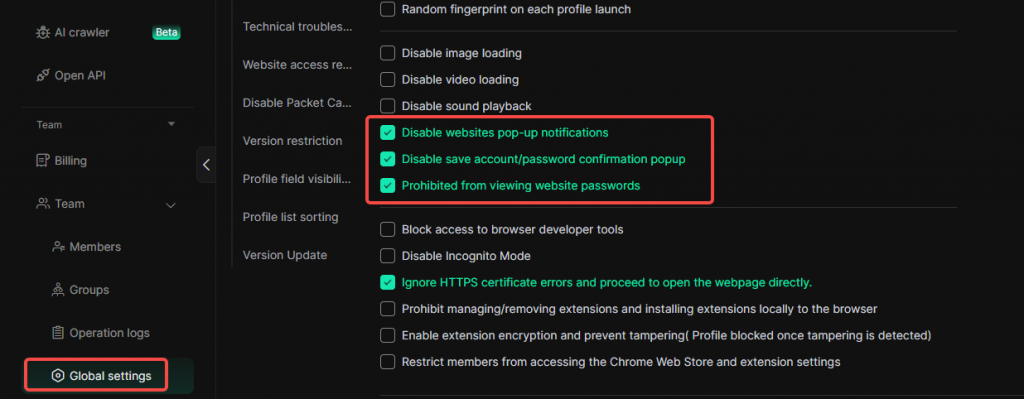
4.2.3 Prohibit viewing account password
- Go to [Global Settings] and enable features like “Prevent from viewing website passwords” and “Disable save account/password confirmation popup”. (Note: “Prevent from viewing website passwords” is only available on the Plus Plan and Share+ Plan.)
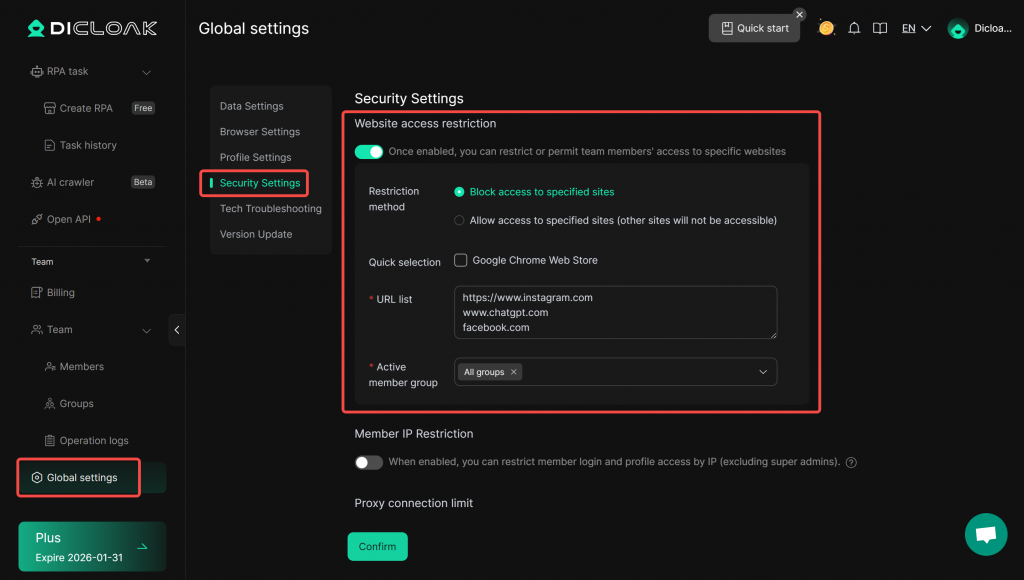
4.2.4 Use Website Access Restriction Feature
- Go to [Global Settings], find the [Website access restriction] feature, choose your preferred restriction method, and input the corresponding website url.
5 Other Common Settings
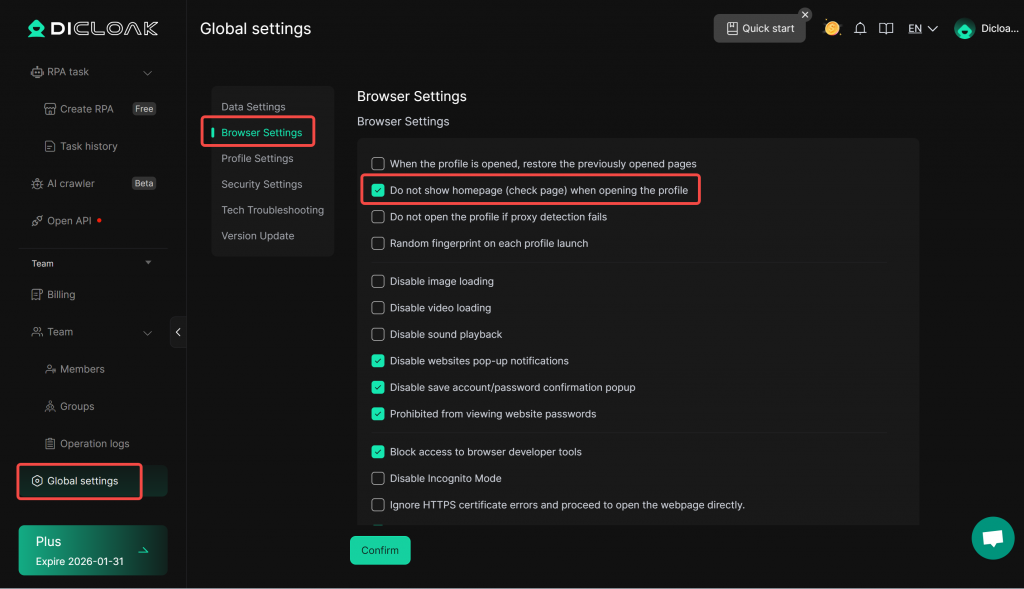
5.1 Remove Kernel Page
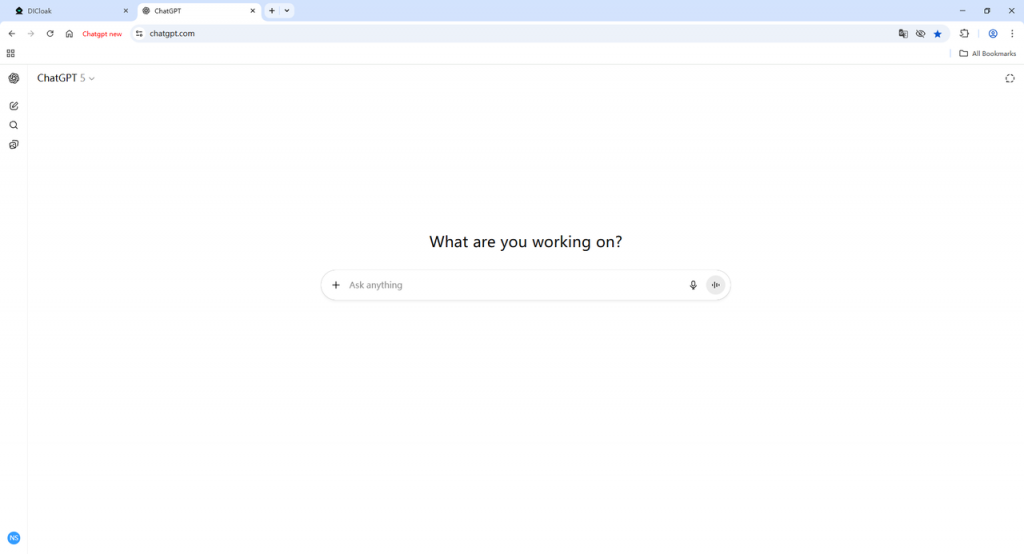
If you want to remove the following page, go to [Global Settings] and check [Do not show homepage (check page) when opening the profile].
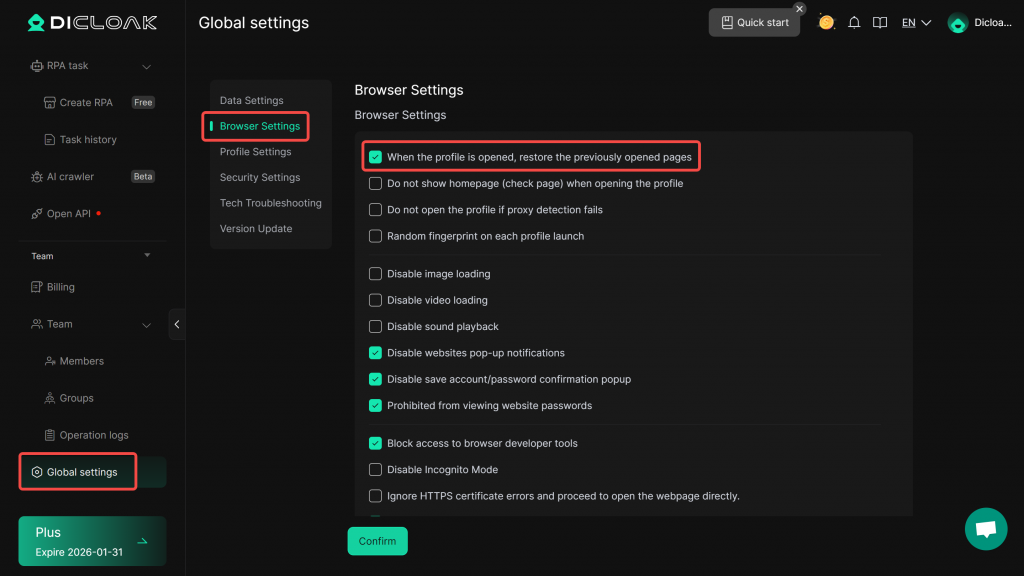
5.2 Disable Restore Page
If you do not want the previously visited pages in the profile to appear each time you open a profile, go to [Global Settings] and uncheck [When the profile is opened, restore the previously opened page].
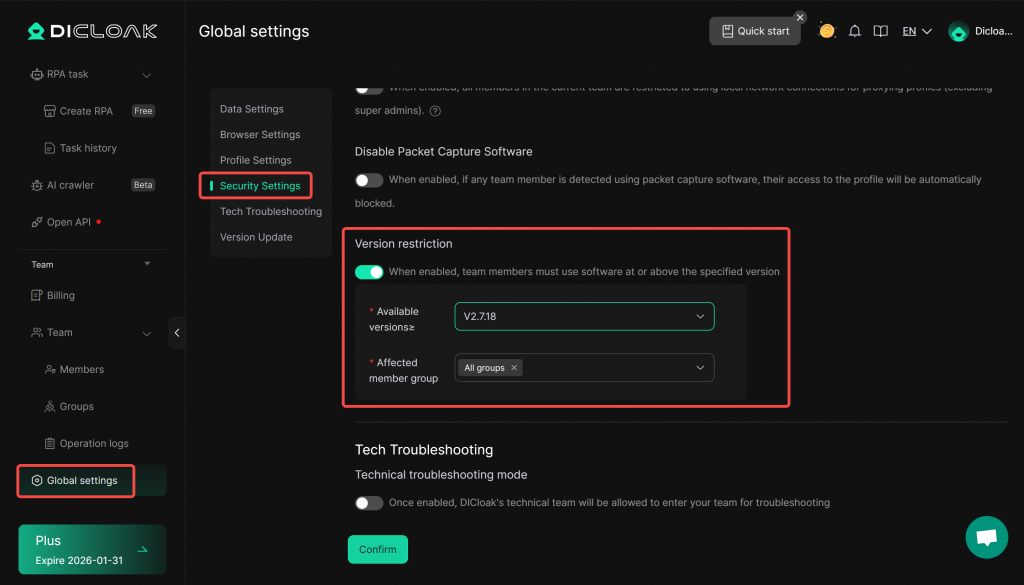
5.3 Restrict Members’ Software Versions
If you want to ensure all members use the newer version of the DICloak software, go to [Global Settings] and find the [Version Restriction] feature.
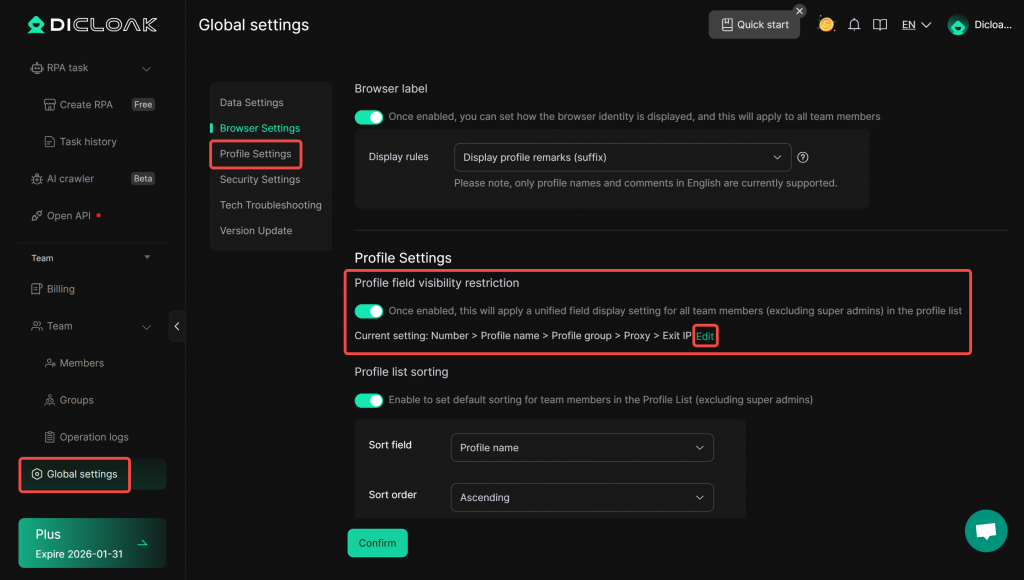
5.4 Set Profile field visibility for Members
If you don’t want your members to view certain field information in the profile list, go to [Global Settings] and find the [Profile field visibility Restriction] feature to configure.
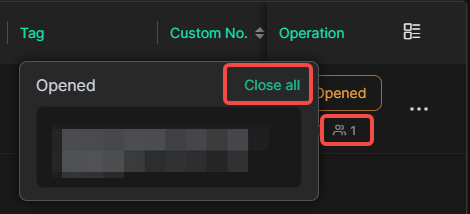
5.5 Close Profiles for Multiple Members at Once
If you want to close profiles for all members who have opened certain profiles, follow these instructions.

6 Common Issues Handling
6.1 How to Handle Tool Account Logouts?
When the tool account in the profile logs out unexpectedly and needs to be logged back in, team members need to contact the admin to resolve the issue.
Important Note: Some tool websites will log out after a certain period, and the admin needs to log in again.
- The admin ensures that other members have closed their browser profiles using the one-click close function.
- The admin opens the problematic browser profile and logs in with the account and password.
- The admin closes the browser profile and reopens it to check if the tool account remains logged in.
- If the tool is logged in, other members can reopen the profile and use the tool.
Important Note: To avoid frequent logouts, we recommend admins ensure stable network environments when configuring profiles and enable data sync to maintain the login status.
6.2 Do I Have to Purchase Static Residential Proxies?
Currently, proxies are not necessary. However, to ensure the safety and long-term stability of your tool accounts, we recommend purchasing and configuring static residential proxies when your and your members’ exit IPs differ. If the network access IPs of your team members are consistent, proxies are not necessary.
7 Contact DICloak Support