This document helps you set up login verification for members (email and 2FA verification), view and log off logged-in devices, and deactivate accounts.
1. Login verification
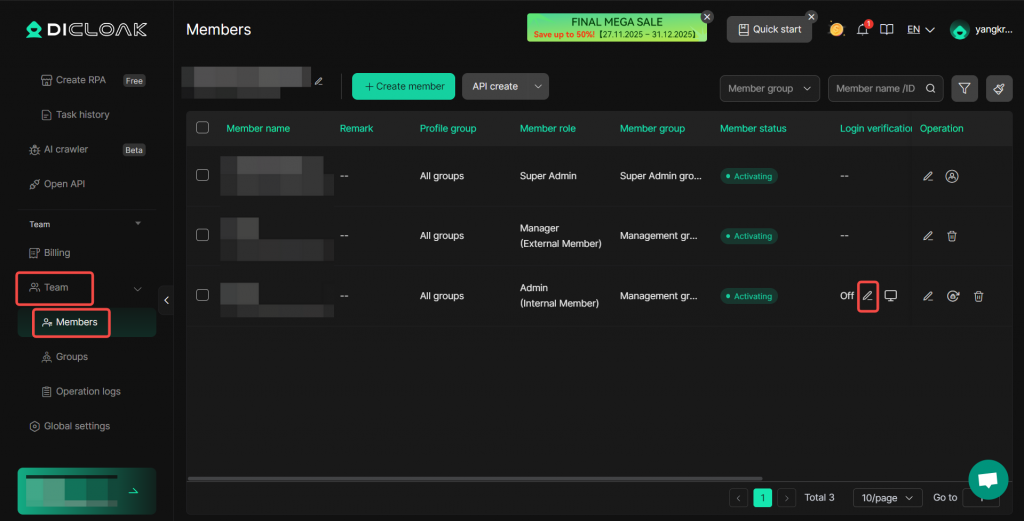
Go to Team > Members List. Login verification can be enabled for internal members.
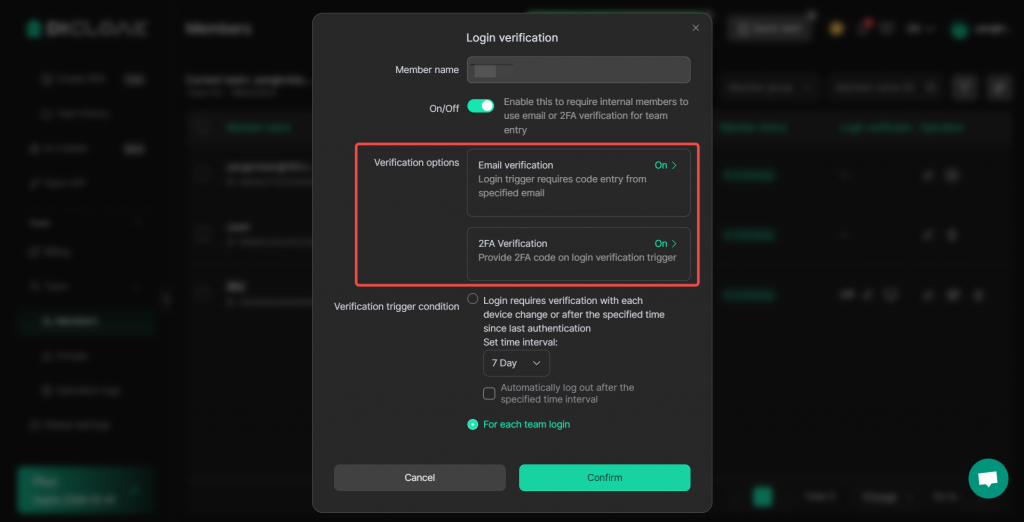
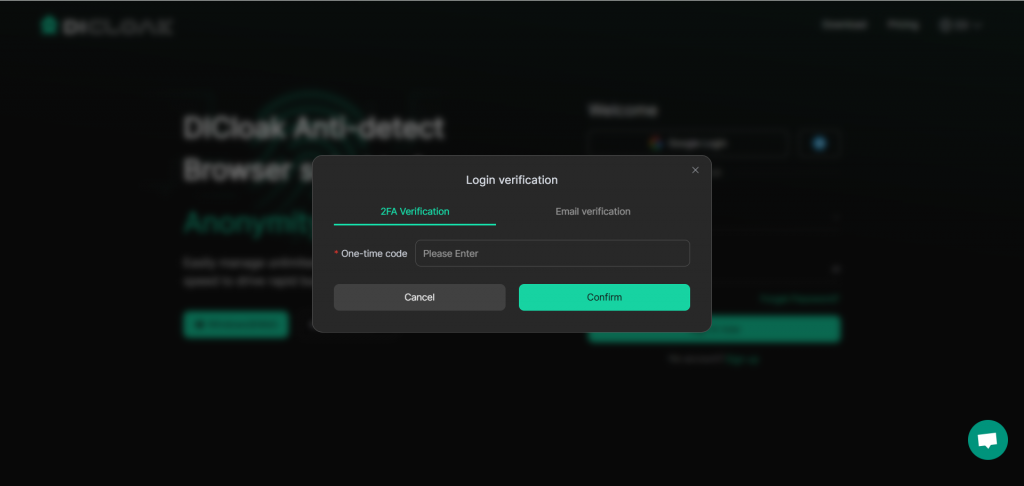
Two verification methods are available. You can enable one or both. If both are enabled, members only need to complete one verification method when logging in:
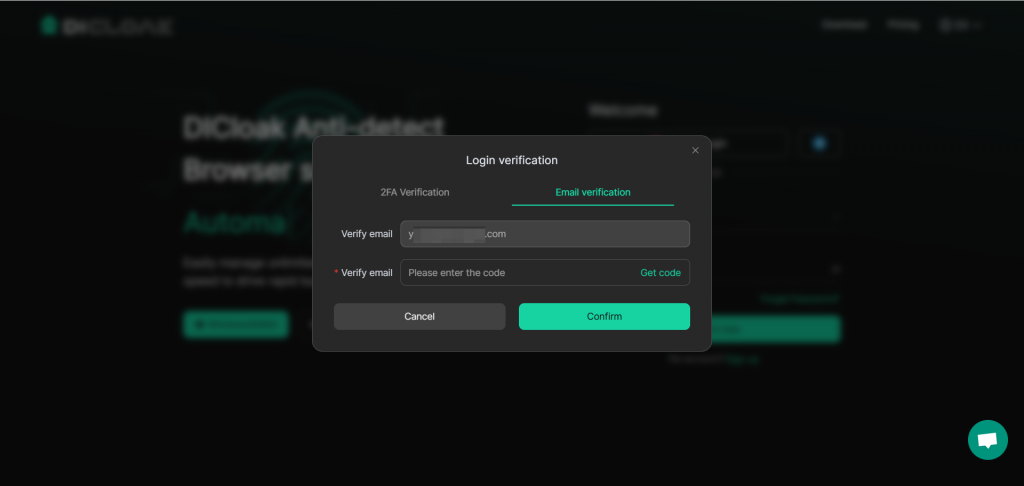
- Email verification: Enter the email address to receive the verification code. Generally, the administrator’s email address is used here.
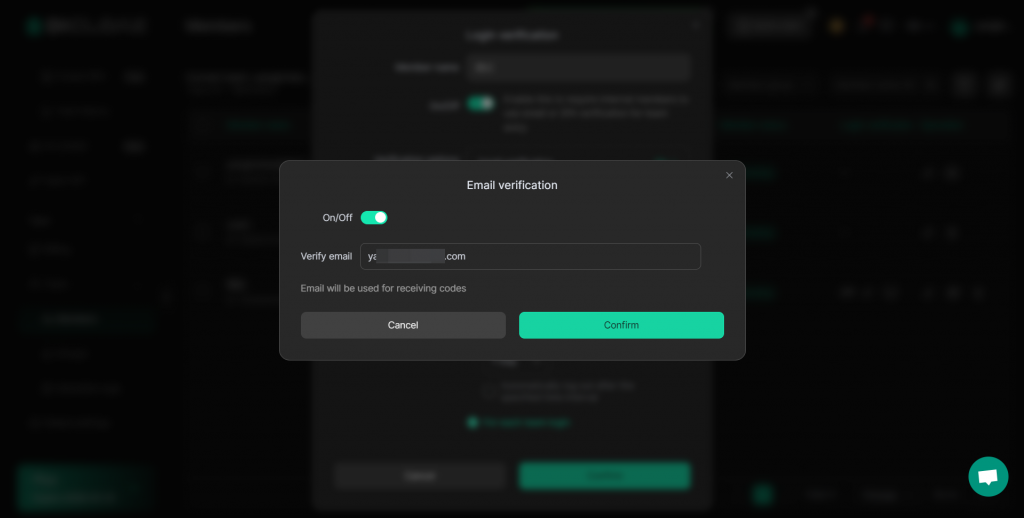
After enabling, the member must enter the verification code received in this email address when logging into DICLOAK.
- 2FA Verification: Scan the QR code using an authenticator such as Google Authenticator or Microsoft Authenticator, or copy the 2FA key and enter it in the authenticator to obtain a one-time code, which is then entered into the 2FA verification. This verification is generally completed by the administrator.
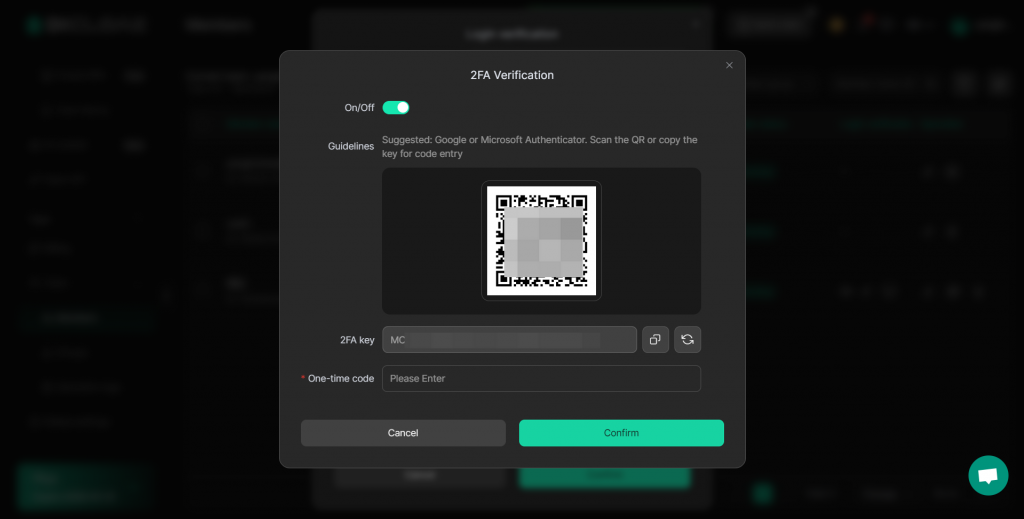
After enabling, the member needs to obtain a 2FA dynamic code / one-time code from the administrator when logging into DICloak.
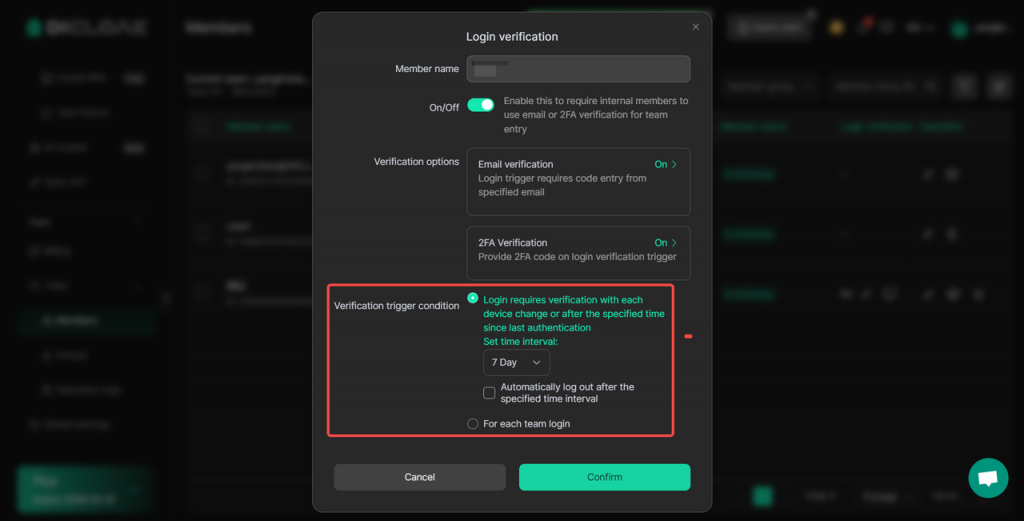
Verification trigger condition (choose one):
- Login requires verification with each device change or after the specified time since last authentication. The time interval and whether to automatically log out after the specified time interval can be set.
- For each time login.
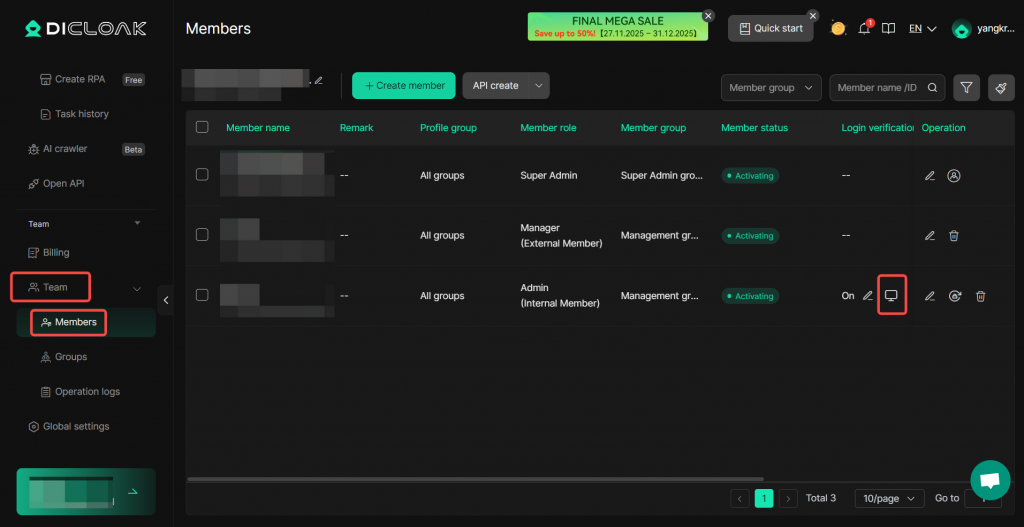
2. View and log off logged-in devices
Go to Team > Members List, and click the device icon under Login verification.
- View the device information logged into this member’s account. Login devices can be filtered by device name, login status, IP address, country/region, and login time range.
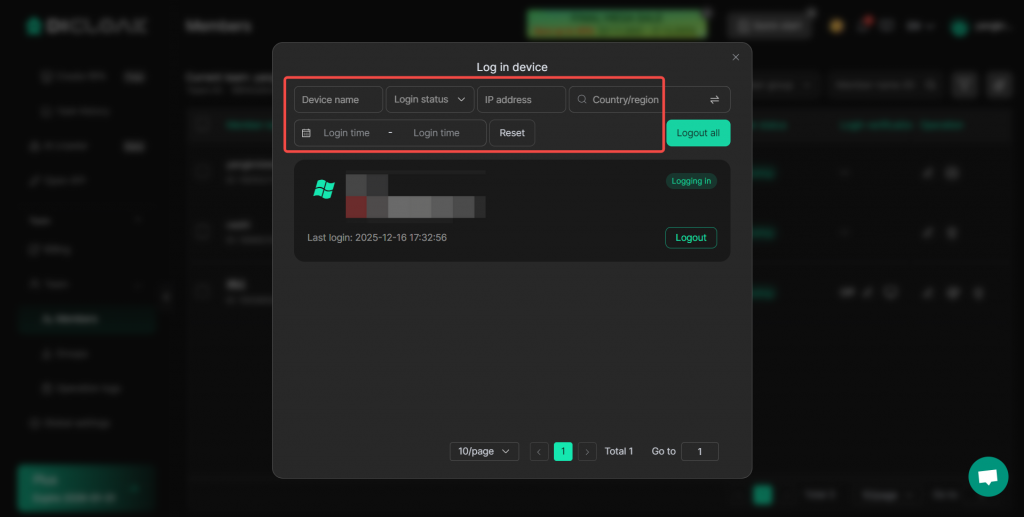
- Log out all devices or a specific device. After clicking “Logout”, the device will be logged out in real-time and will need to log in again. If login verification is enabled, the next login will trigger the verification process.

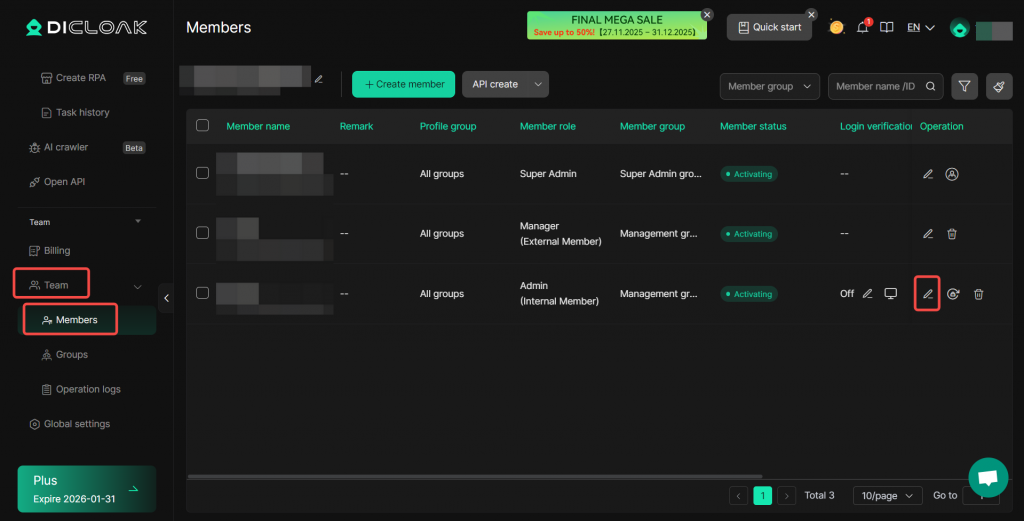
3. Deactivating Member Accounts
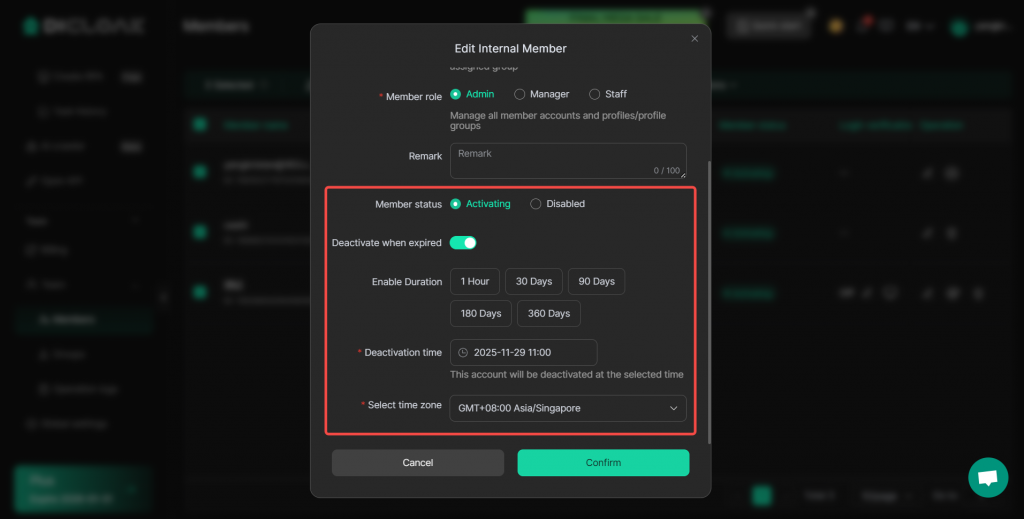
Navigate to Team > Members List. For internal or external members, you can edit or batch-edit their member status and set scheduled deactivation.
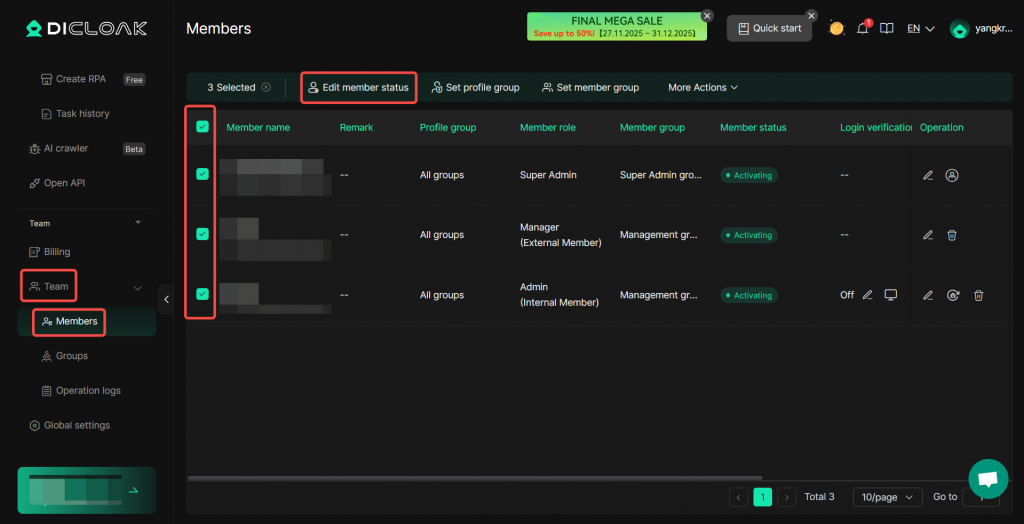
- Member Status: A status of “Activating” allows normal login to the account, while “Disabled” prevents login.
- Deactivate when expired: Once enabled, you can configure the following:
- Enable Duration: Quickly set the deactivation time. For example, selecting “30 days” will change the deactivation time to 30 days later.
- Deactivation Time: The account will be deactivated at this specific time.
- Select time zone: The timezone for the deactivation time.
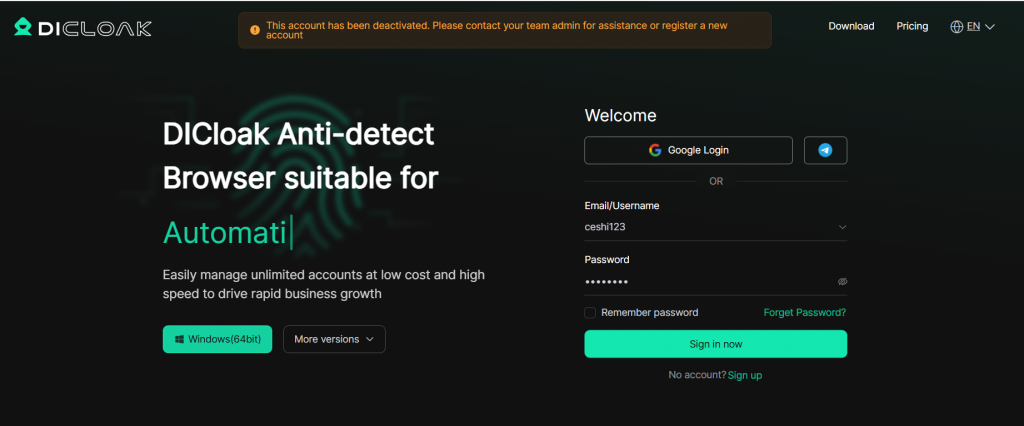
After a member account is deactivated:
- Internal members cannot log into the account and will see the message: “This account has been deactivated.”
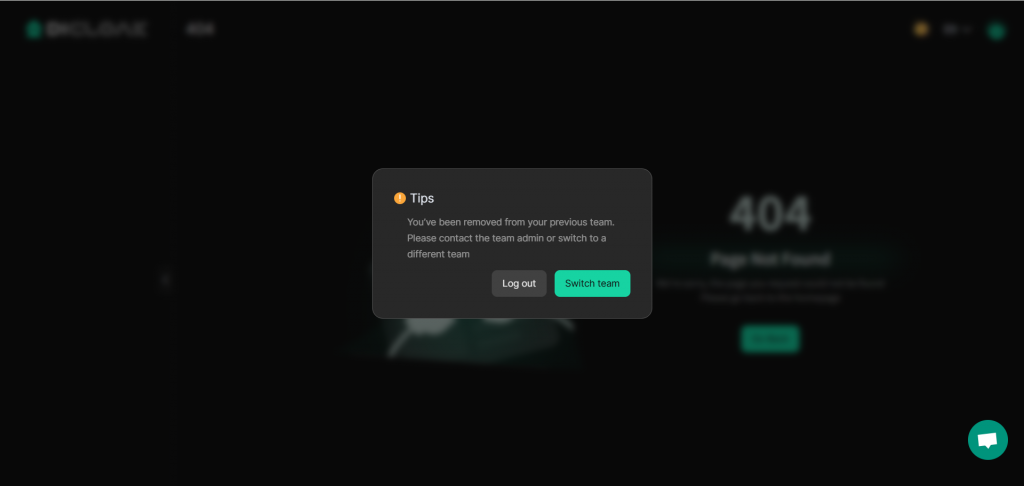
- External members, after logging into their account, will be unable to access the corresponding team.