The [Web Element Hider] extension supports hiding web element entries on multiple websites to prevent account privacy leakage (it will take effect on all environments where this extension is bound). You can use this plugin to hide sensitive web information/entries, and it will take effect for all team members (note: please also enable “Hide Settings” in the extension editor to hide this extension from members and prevent them from modifying it).
Operation Process:
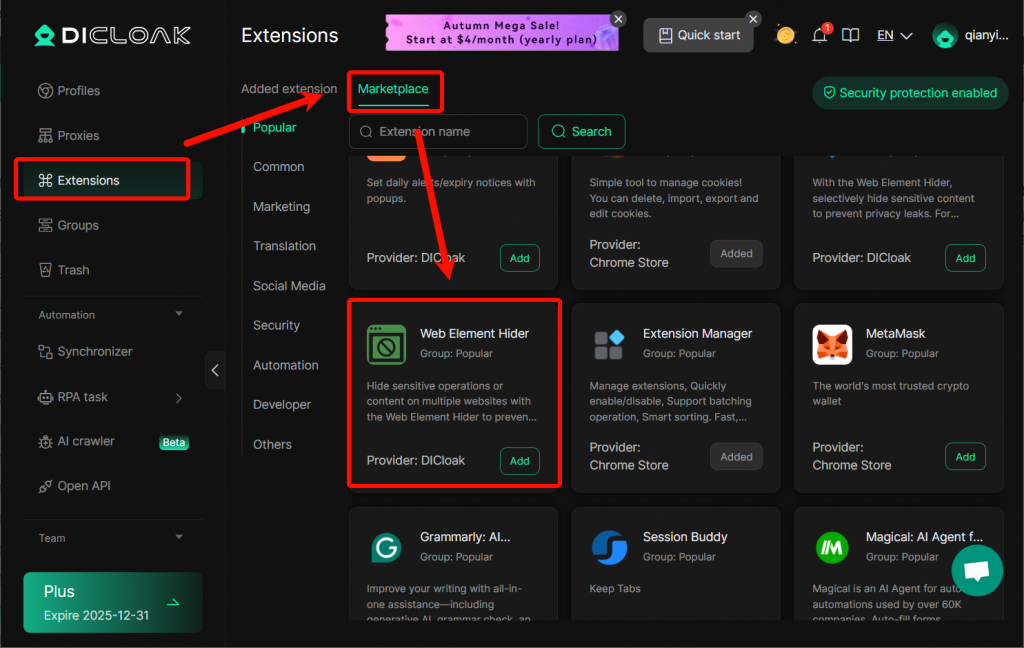
1.Entering the Expanded Market:
Click on [Extensions], enter [Marketplace], find the [Web Element Hider] extension, and click [Add] to edit the extension parameters.
2.Create and Configure Extensions:
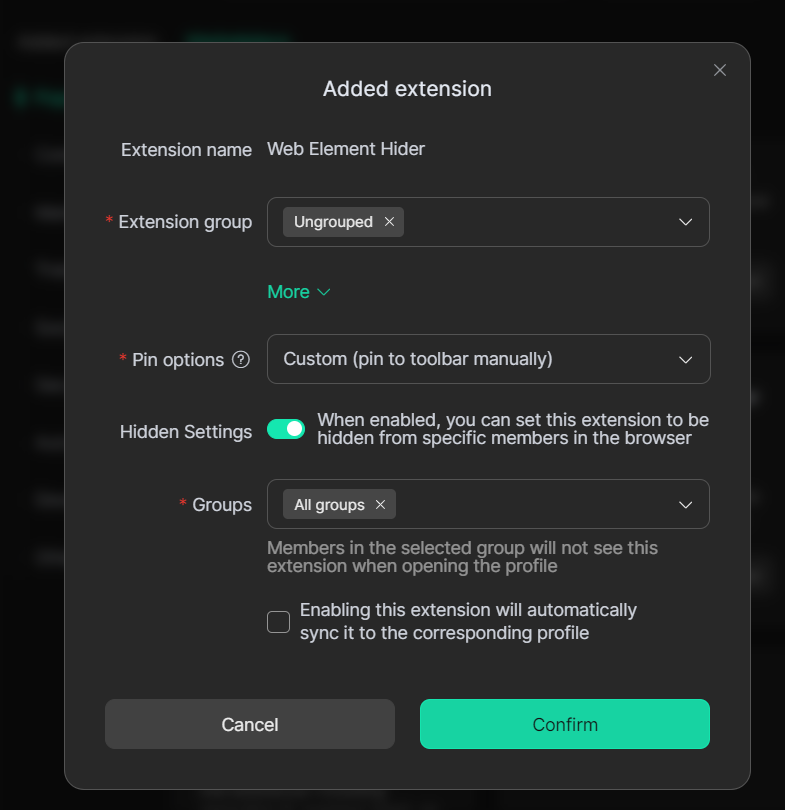
You can configure the grouping, fixing method, hiding settings, and synchronous startup settings for using this extension. After completing the configuration, click [Confirm] to finish the addition. The following is a detailed explanation of the configuration parameters:
- Extension group:You can set the groups allowed to use this extension.
- Pin options: You can set whether to automatically pin the current extension to the extension toolbar at the top of the browser each time you open the environment. You can choose Custom (must be manually pinned to the toolbar), Always Pin to Toolbar, or Never Pin to Toolbar.
- Hidden Settings: Once enabled, you can set the current extension to not be displayed to specified members in the browser.
- Synchronous Startup Settings: After checking, you can enable this extension to automatically
syncit to the corresponding profile.
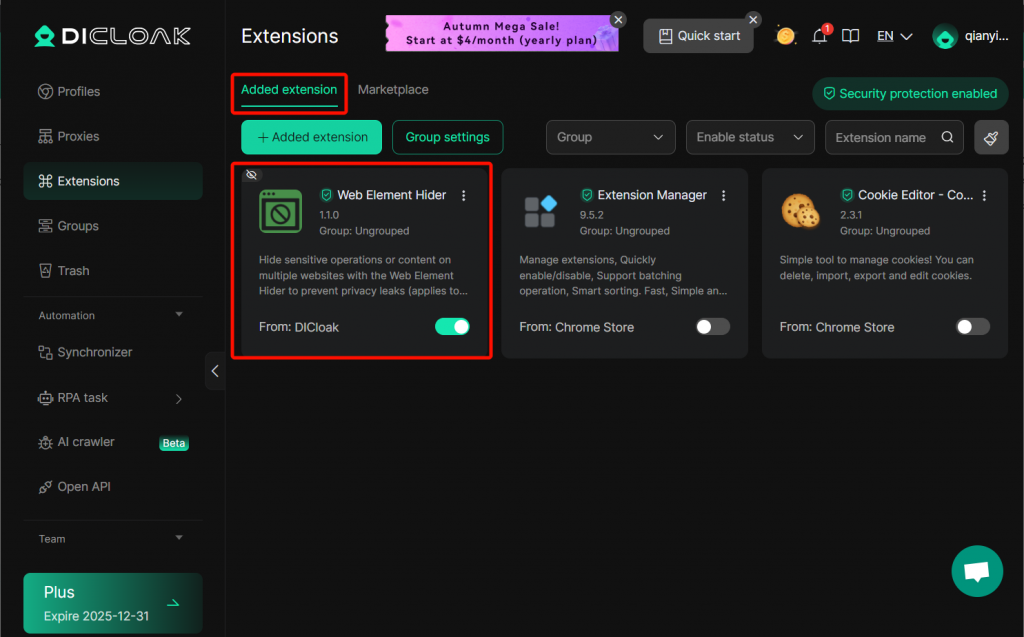
Enter the [Added extension] interface, where you can easily browse and manage installed extensions. Additionally, before using an extension, please ensure it is enabled.
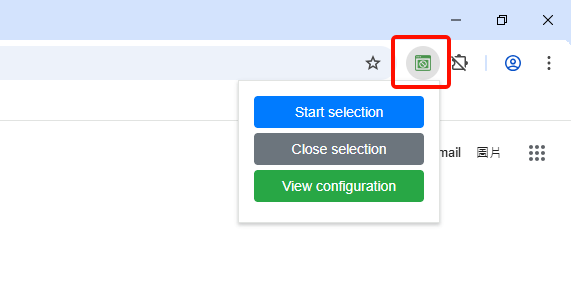
3. Using Extensions:
Enter the environment bound to the extension, and in the extension bar, click the icon to start using it